

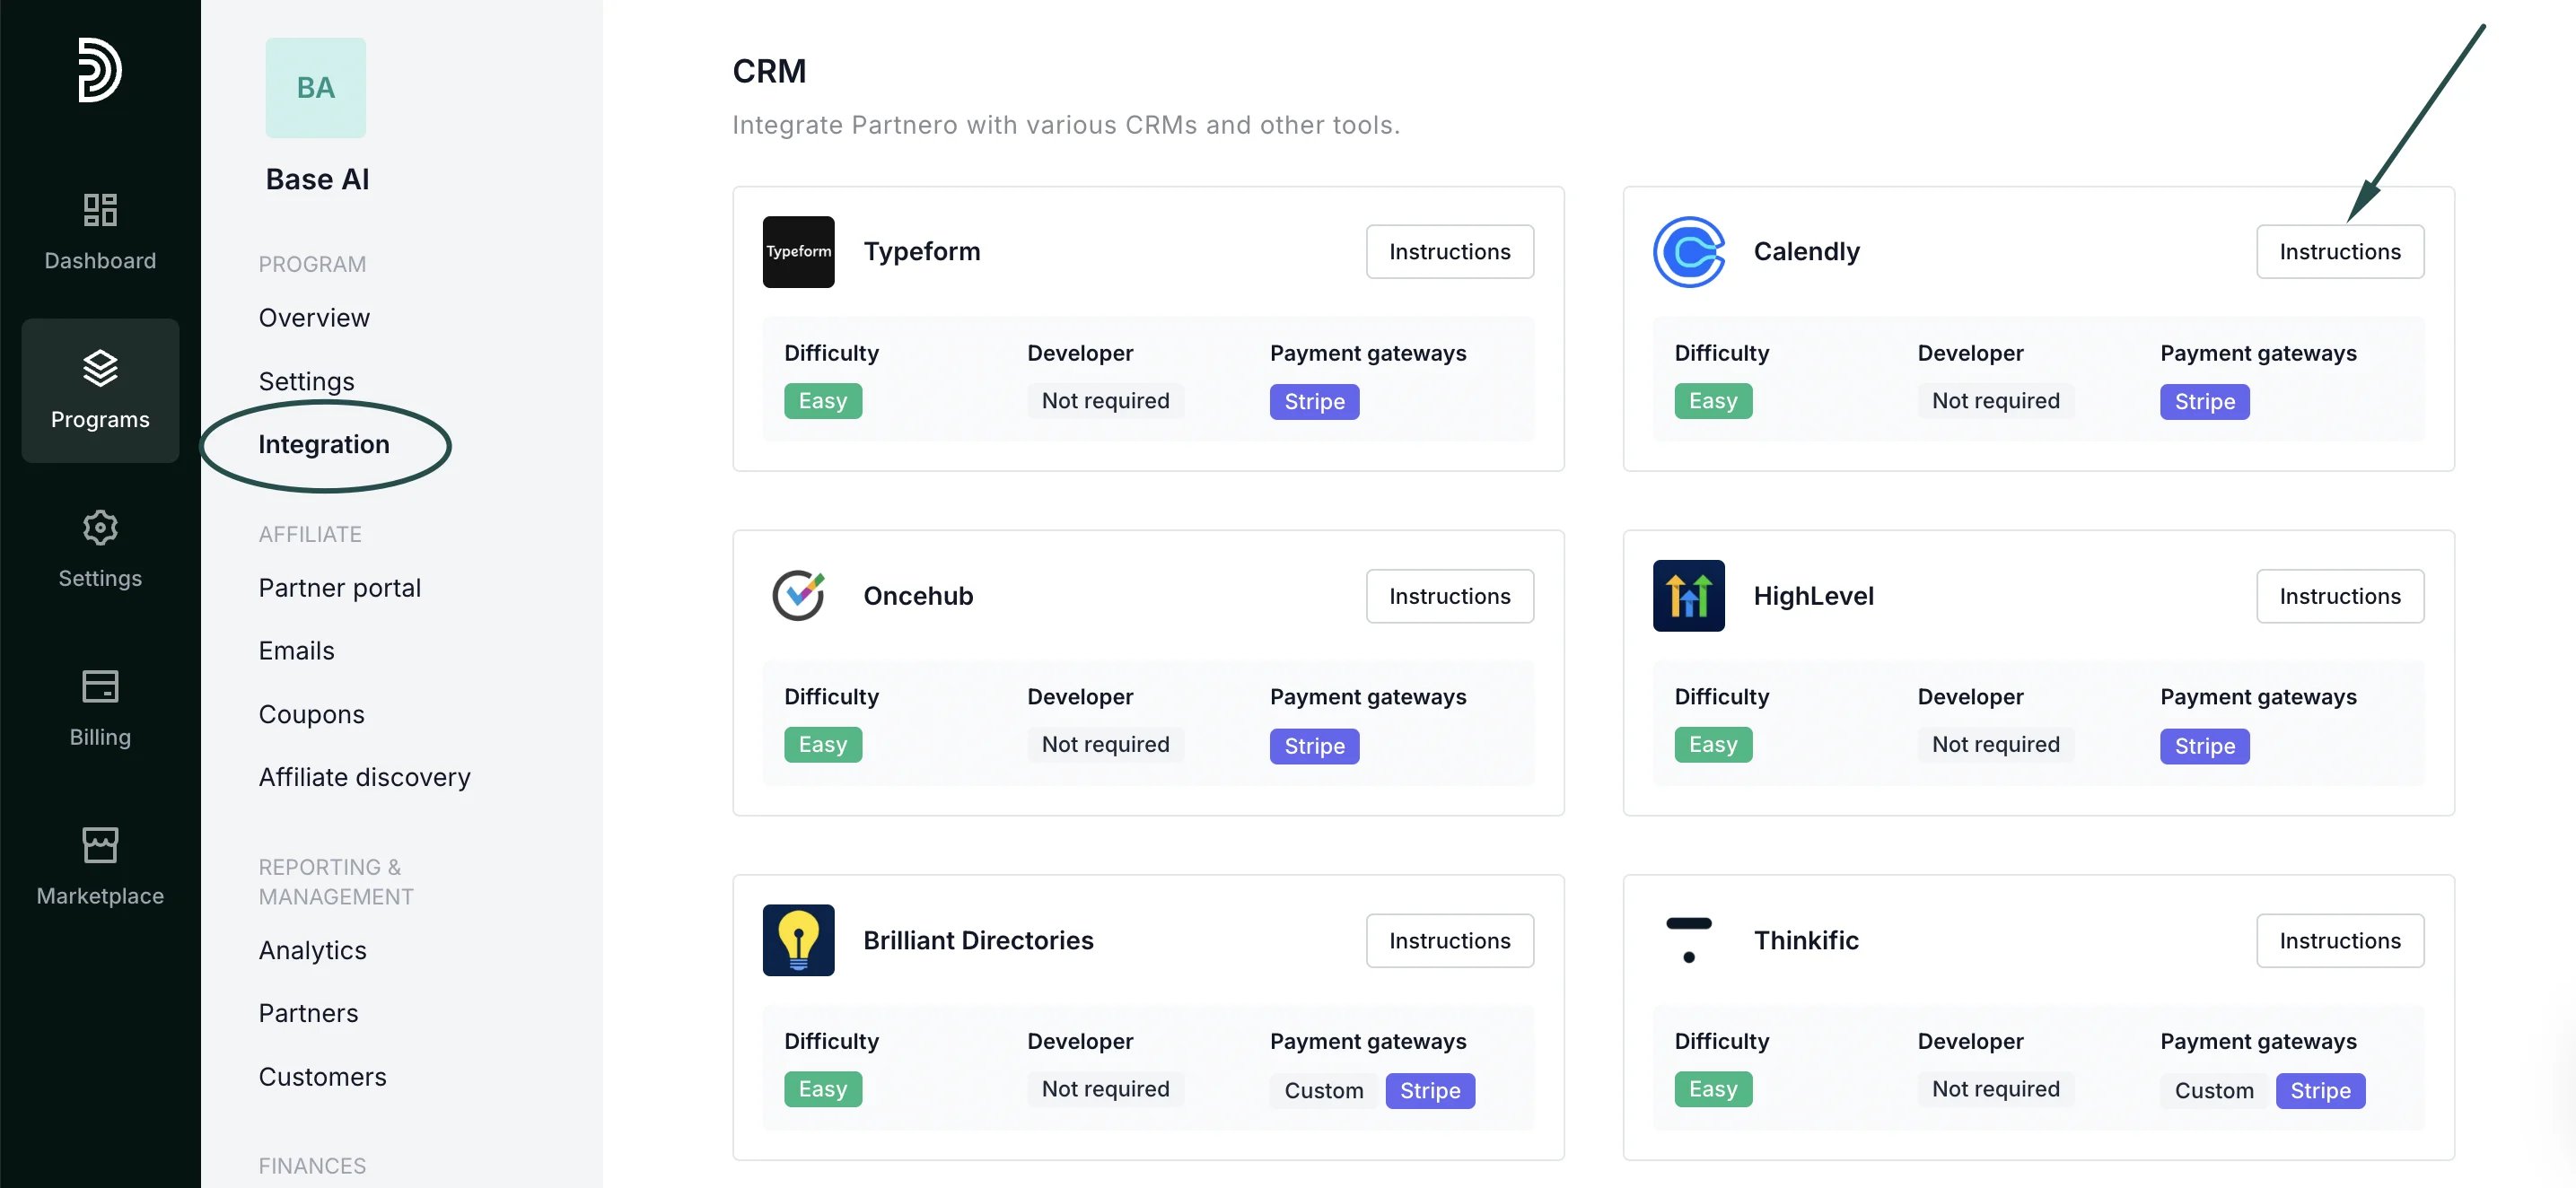
Step 1: Start tracking website visitors
To track visitors on your website, you need to install the PartneroJS snippet as custom code.Install the PartneroJS Snippet
- On Partnero, go to Integration > Guides tab > Calendly. Click Instructions.
- Copy the PartneroJS snippet:
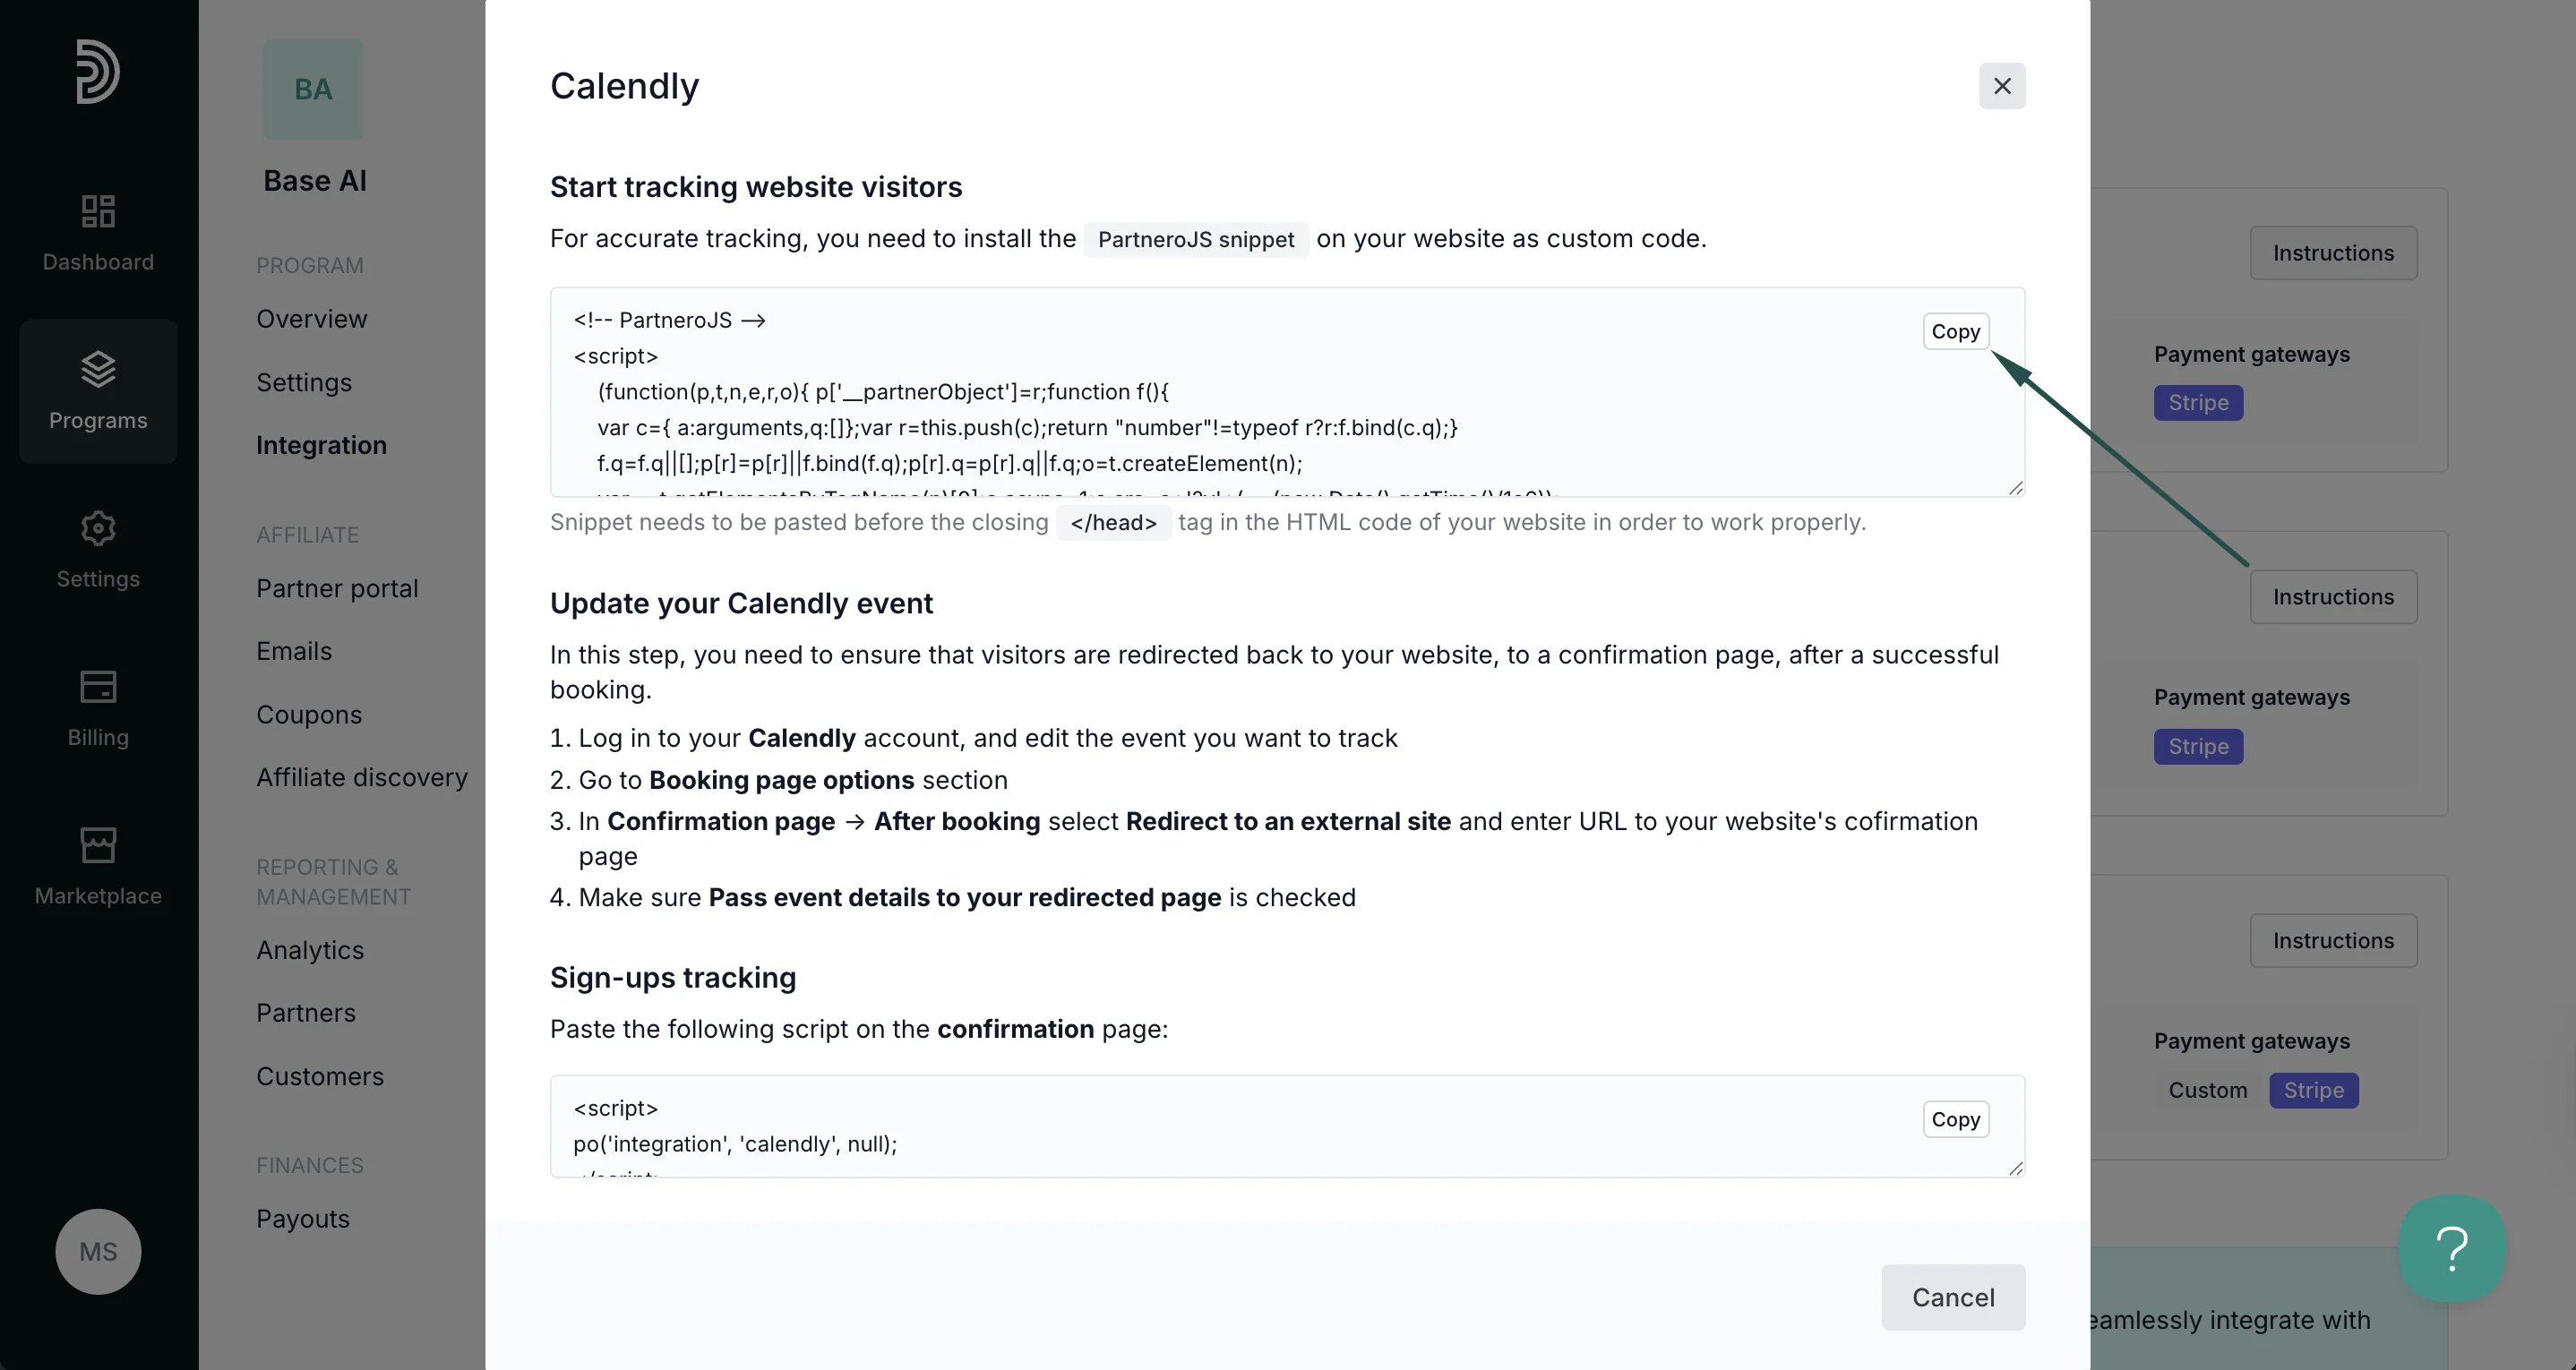
- Paste the snippet before the closing of the </head> tag in the HTML code of your website.
Step 2: Update your Calendly event
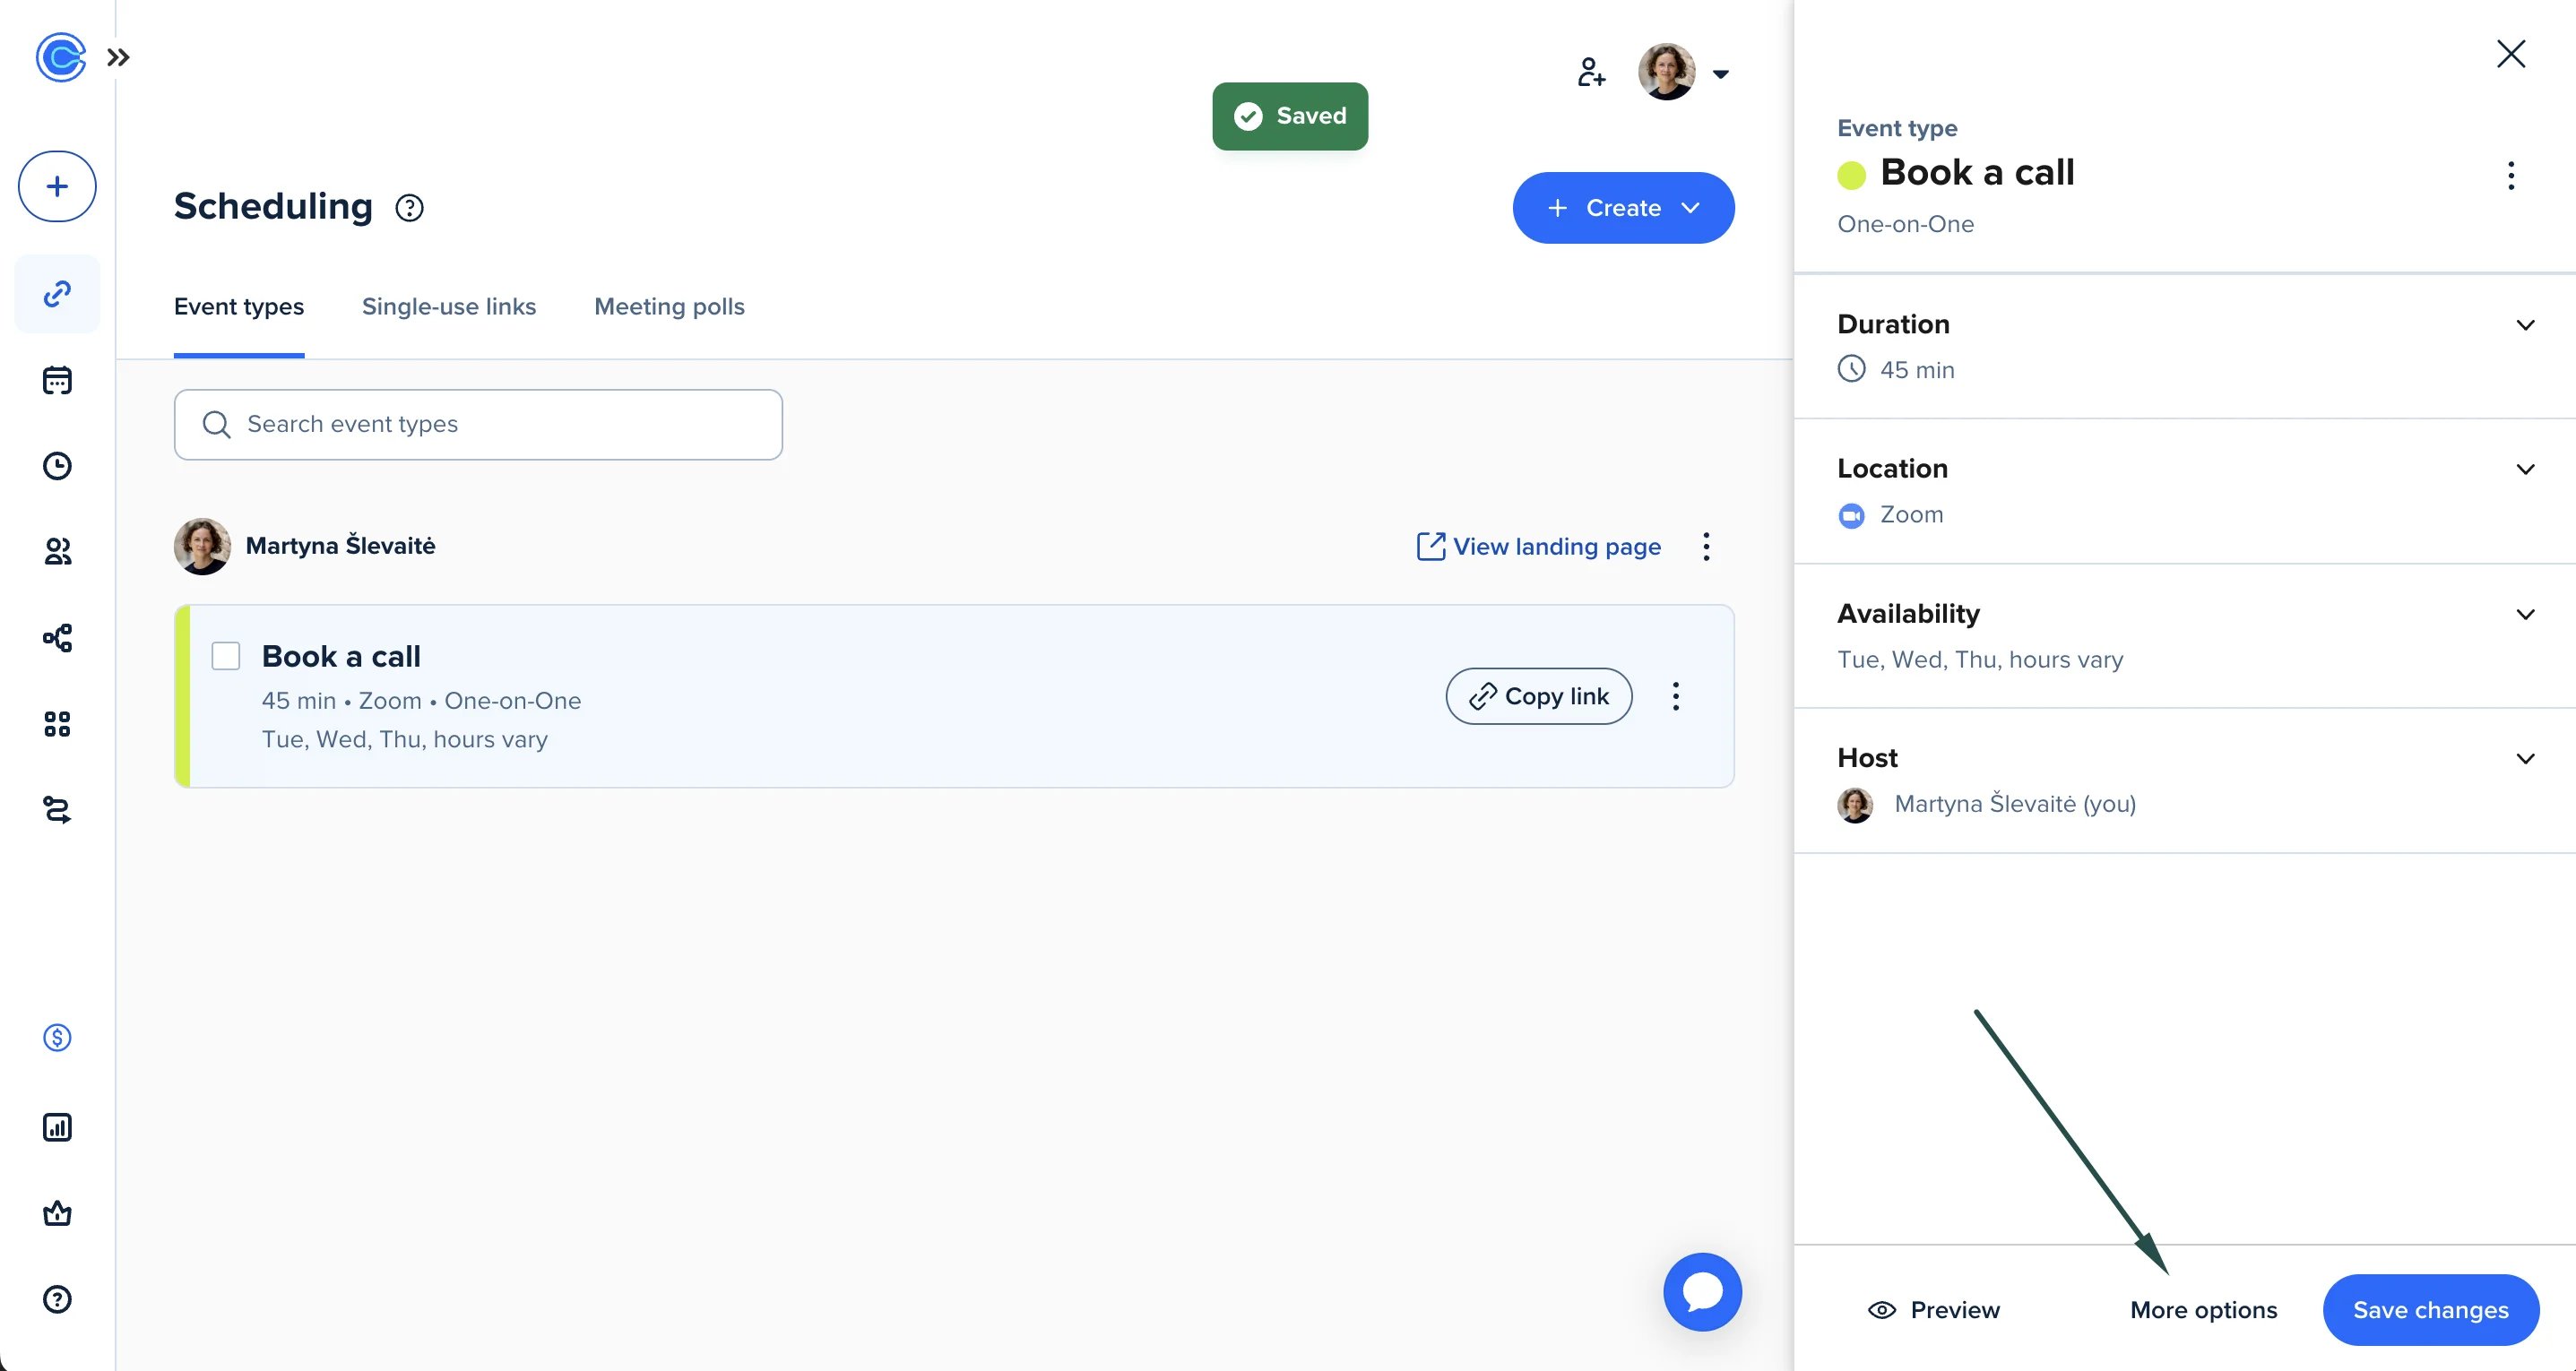
This step ensures that visitors are redirected back to your website, to a confirmation page, after a successful booking.- Log in to your Calendly account, and edit the event you want to track. Click More options:
- Go to the C****onfirmation page and select Redirect to an external site under After booking.
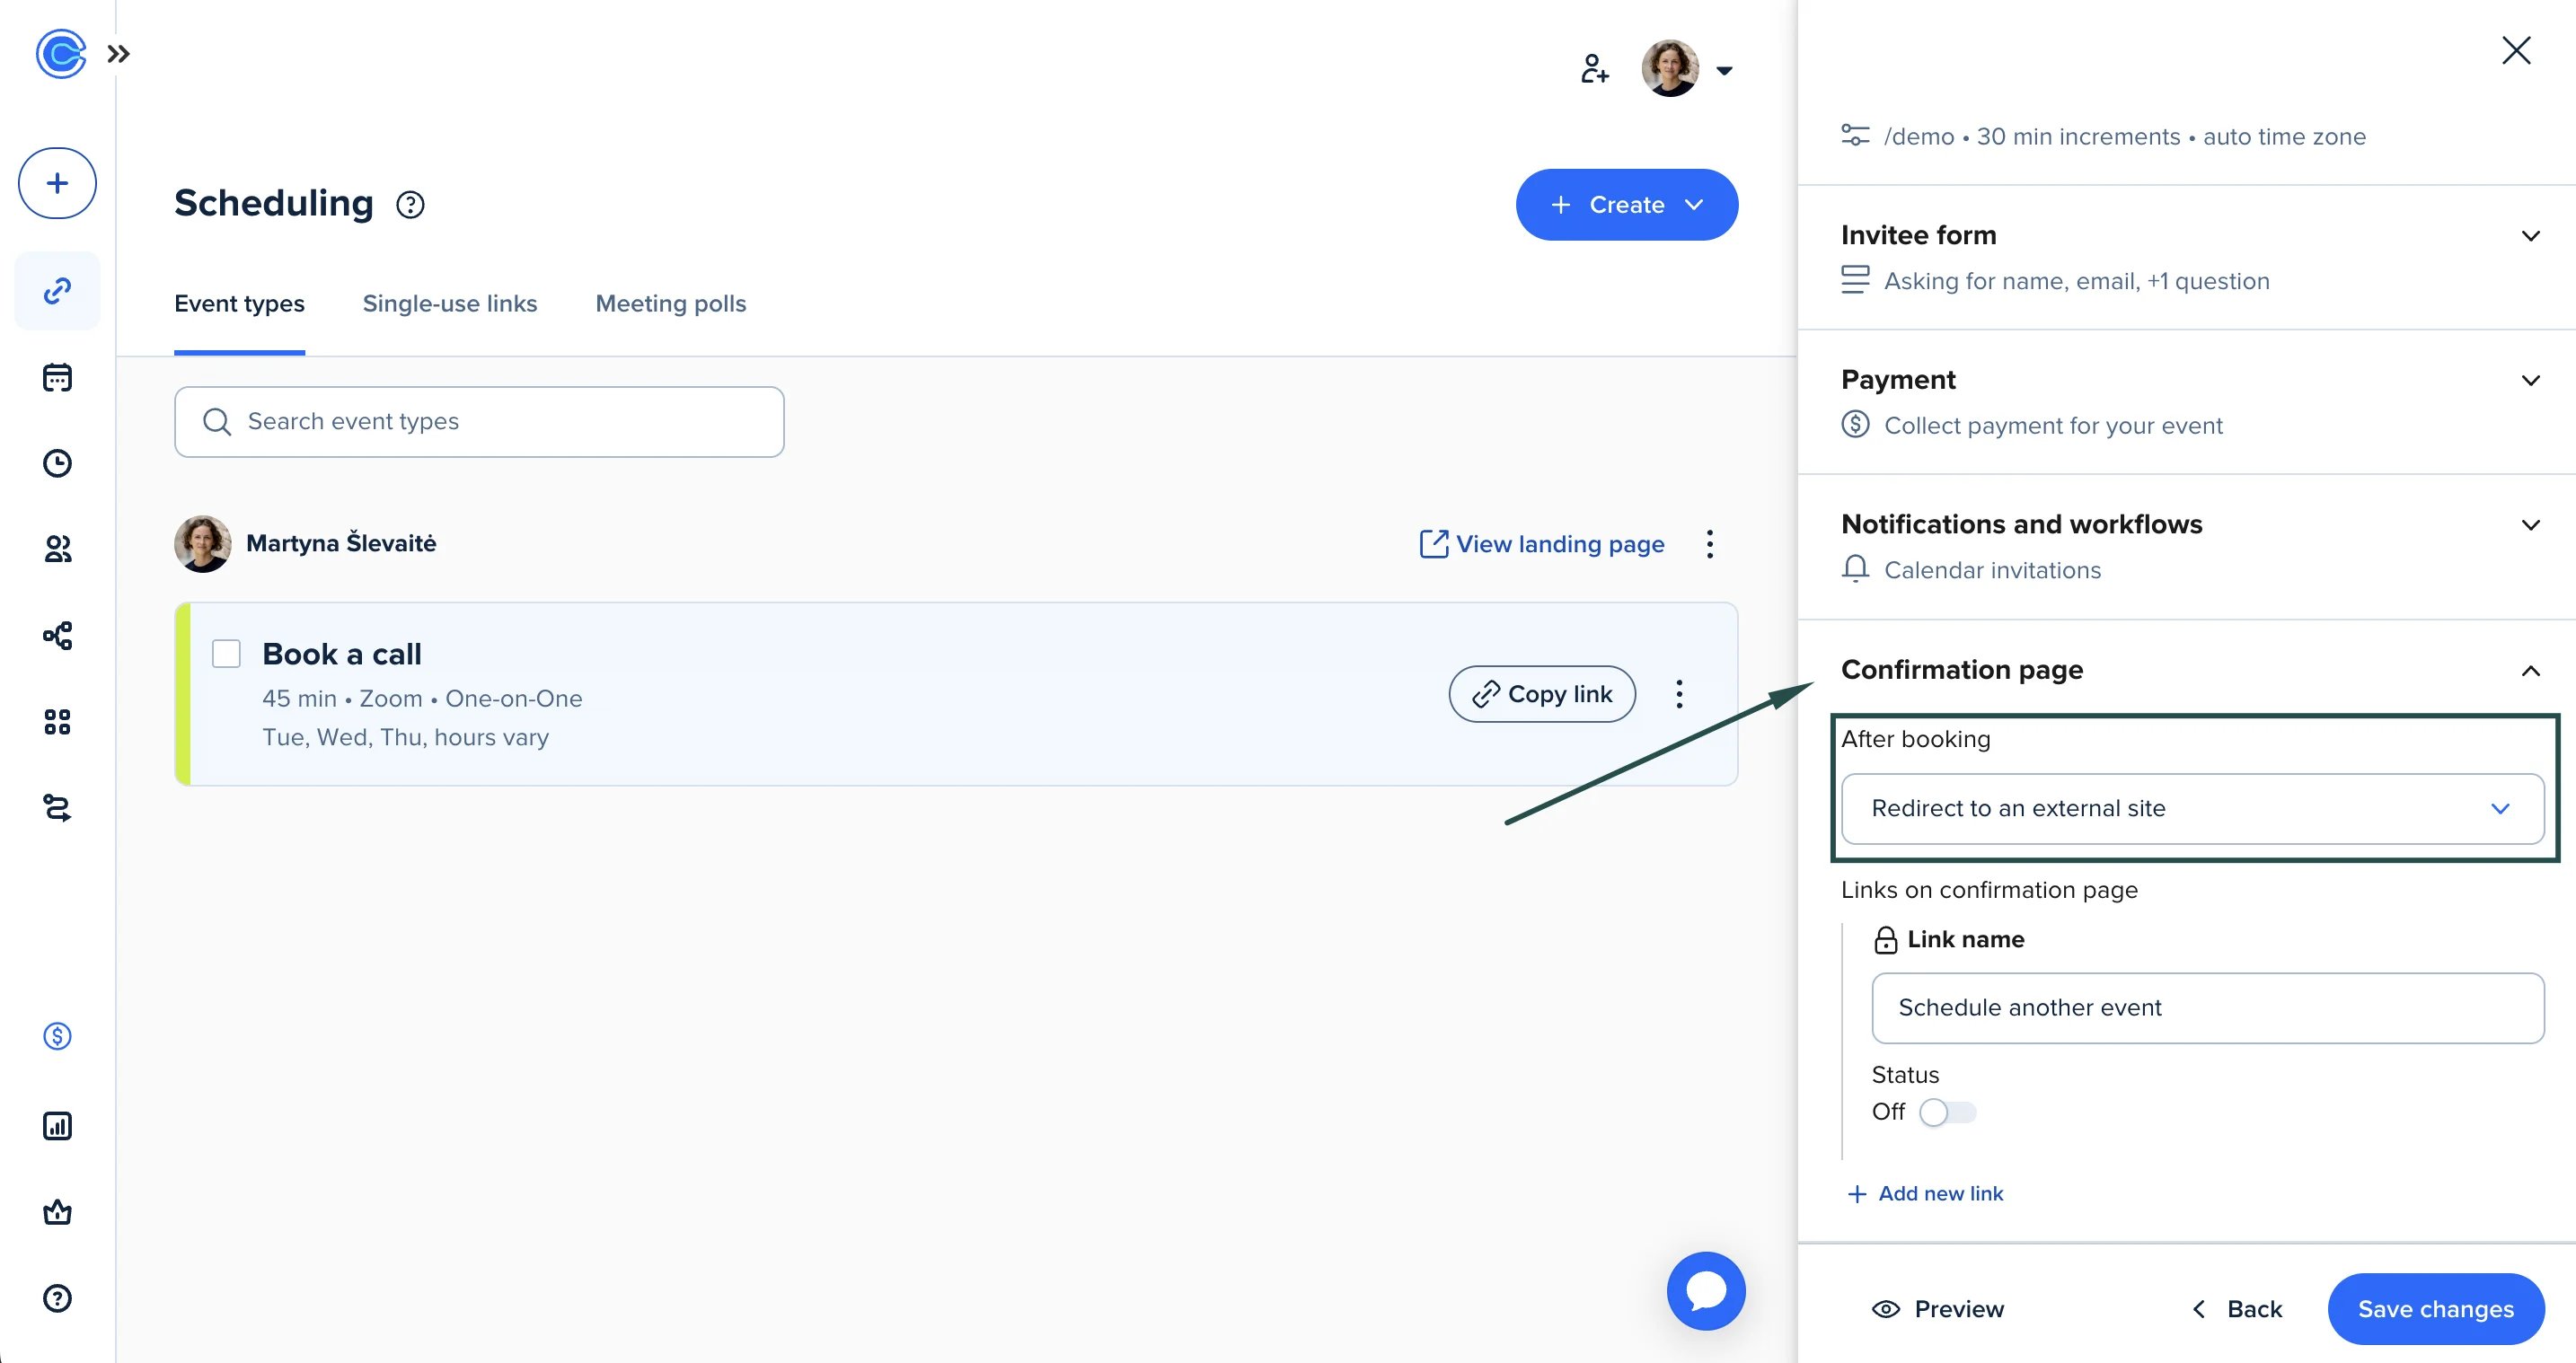
- Navigate to Confirmation page > After booking,
- Select Redirect to an external site. Enter a URL to your website’s confirmation page.
- Make sure that Pass event details to your redirected page is checked.
- Slick Save changes.
Step 3: Sign-up tracking
To track signups:- On Partnero, copy the snippet provided under the Sign-up tracking section:
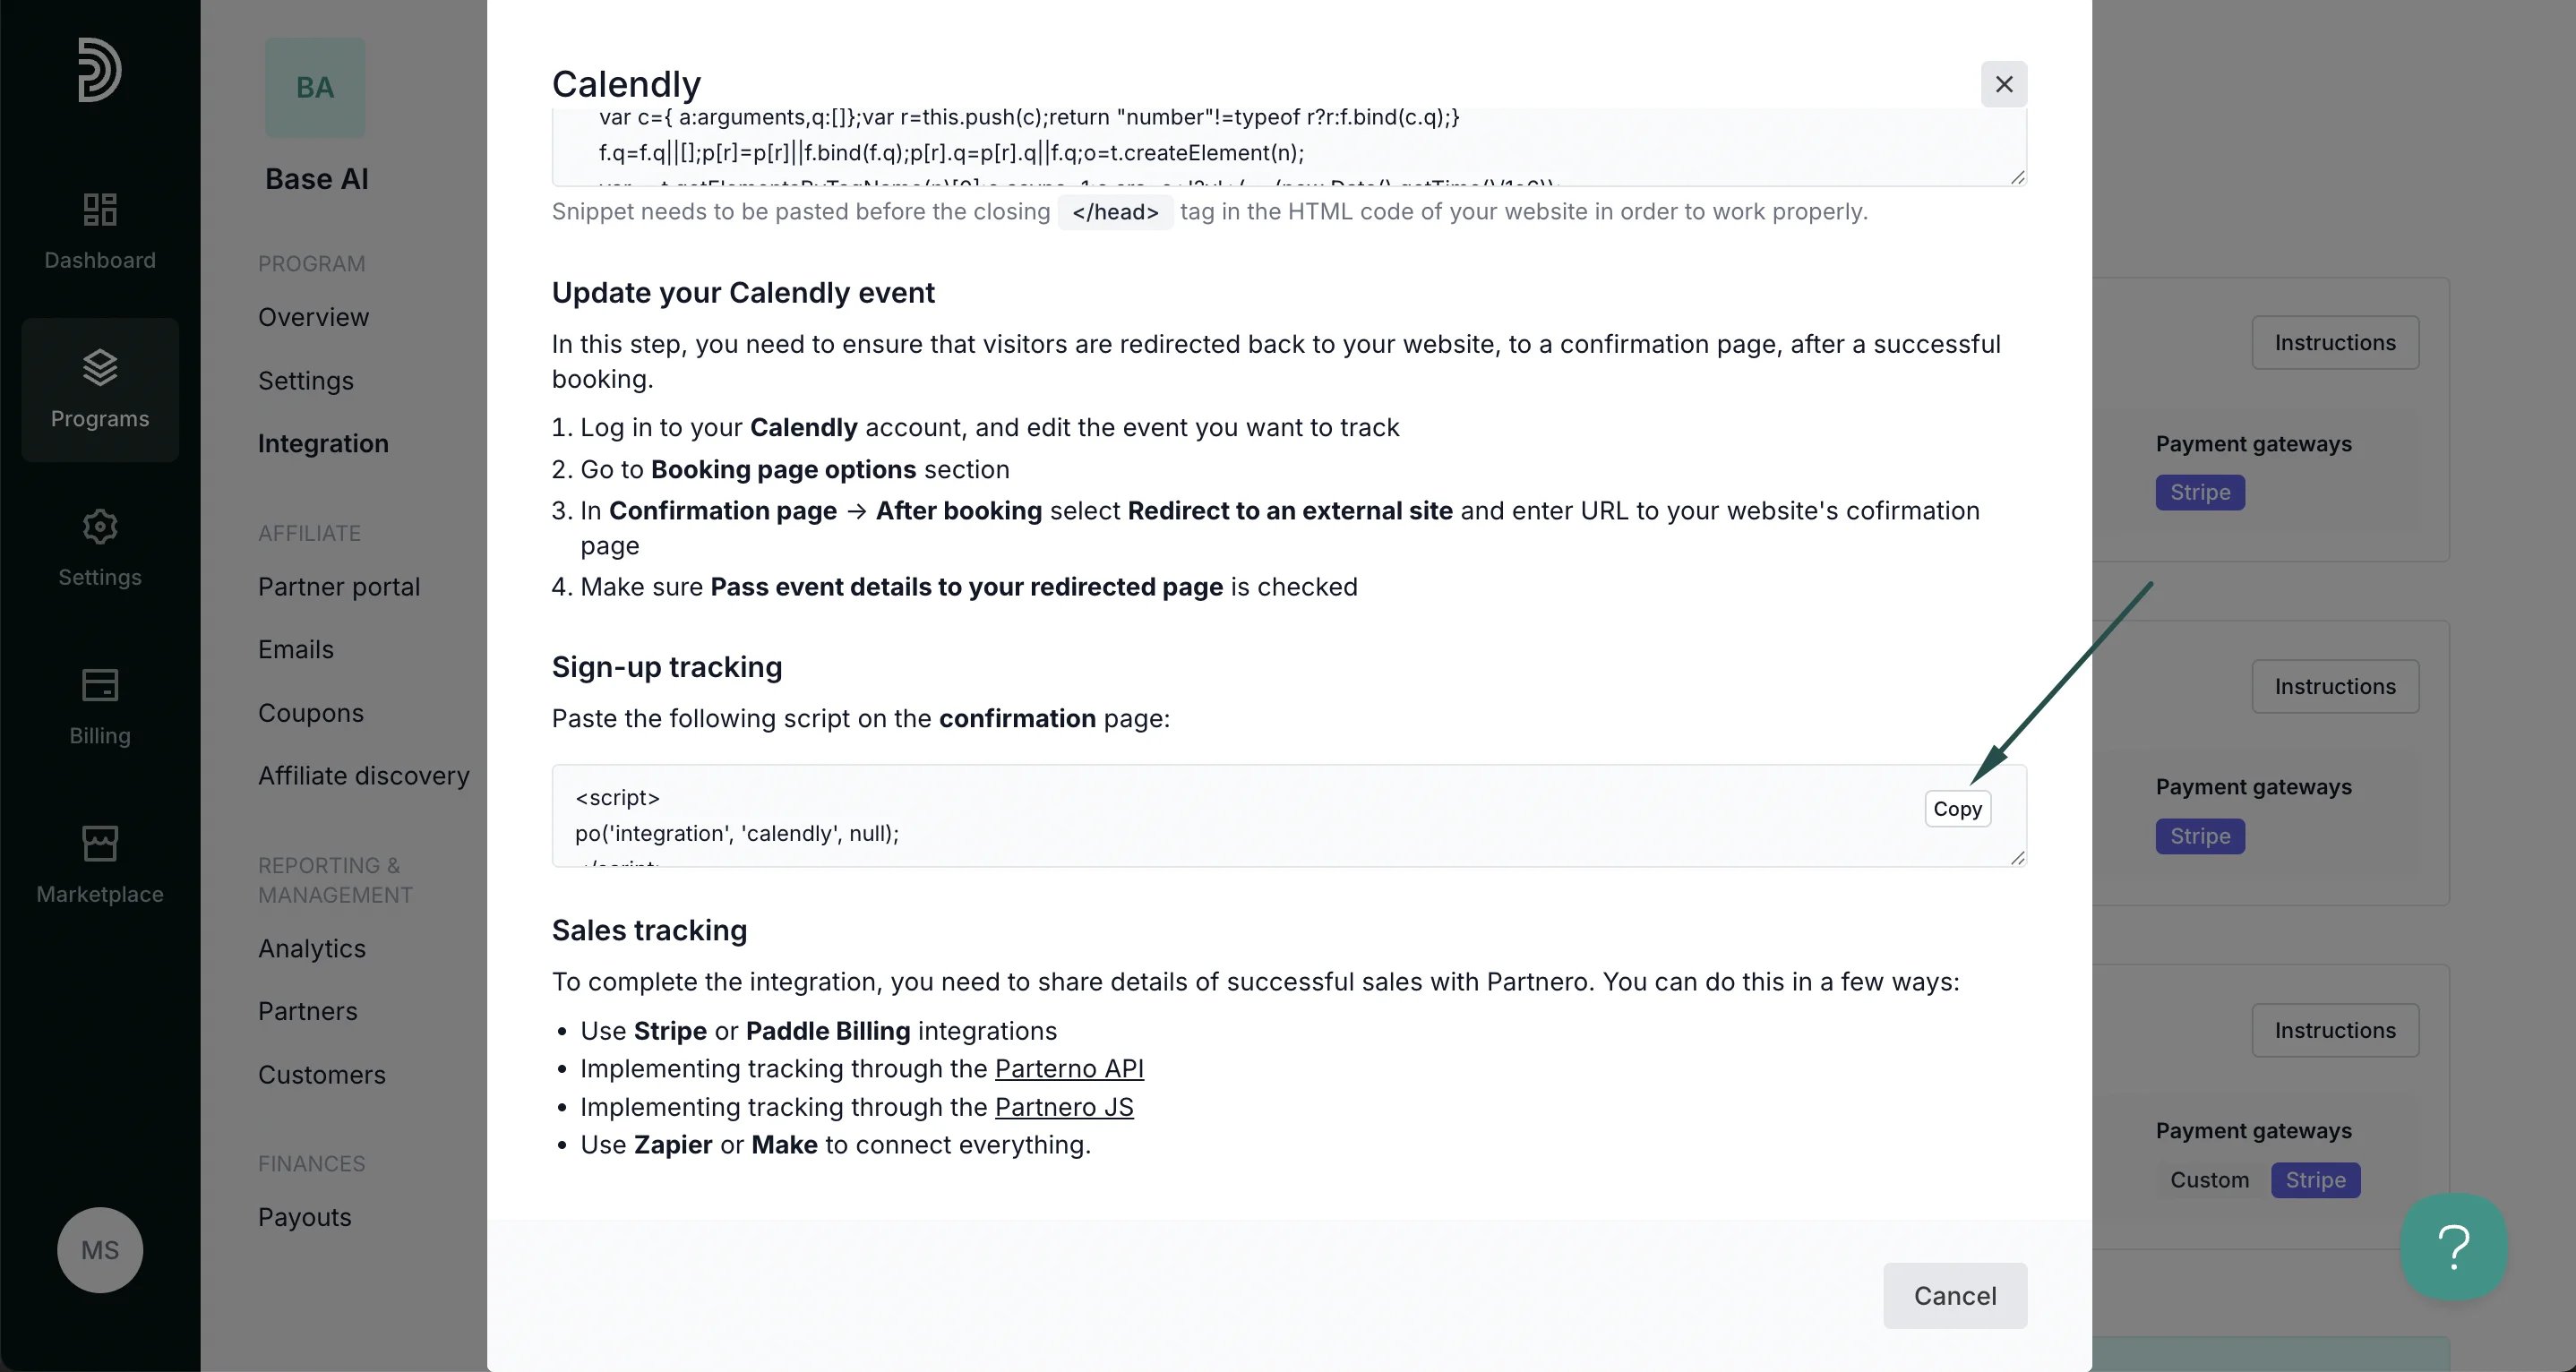
- Paste the script at the bottom of the confirmation page. If that is not possible, insert the script provided below directly after the PartneroJS code, before the closing </head> tag in the HTML code of your website.
Step 4: Sales tracking
To complete the integration, you need to share details of successful sales with Partnero. You can do this in a few ways:- Use Stripe or Paddle Billing integrations
- Implementing tracking through the Partnero API
- Implementing tracking through the Partnero JS
- Use Zapier or Make to connect everything.