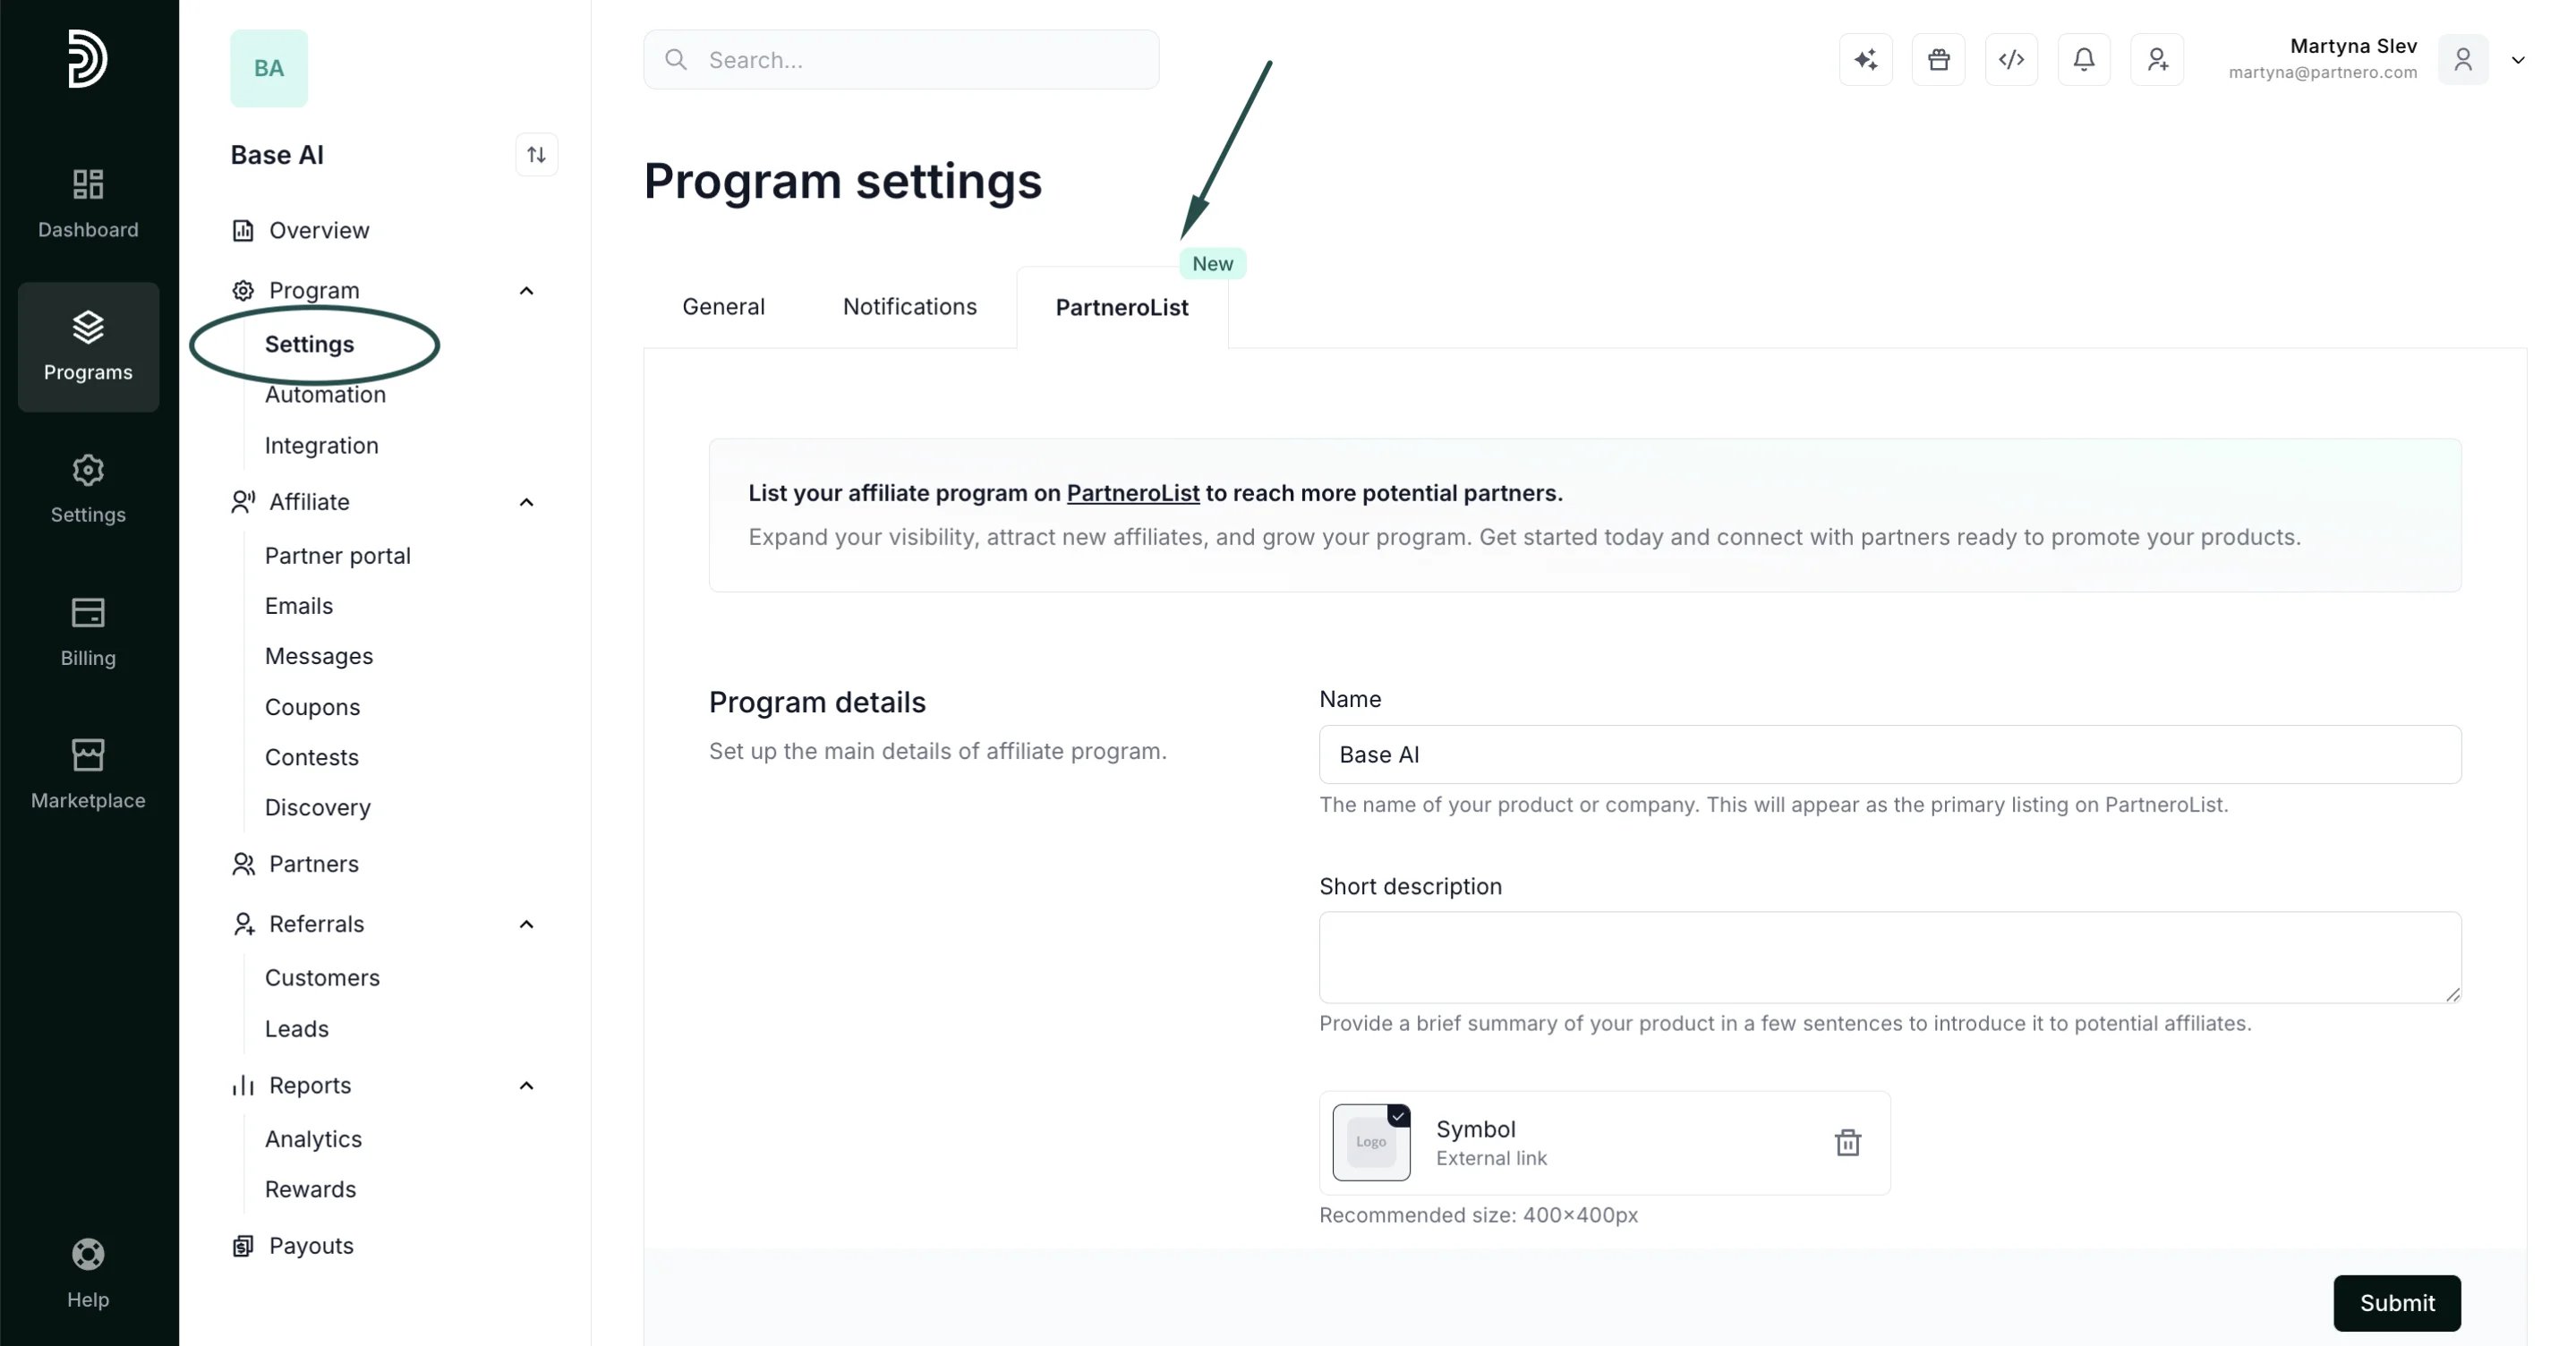
Settings: General
Let’s start with the General tab.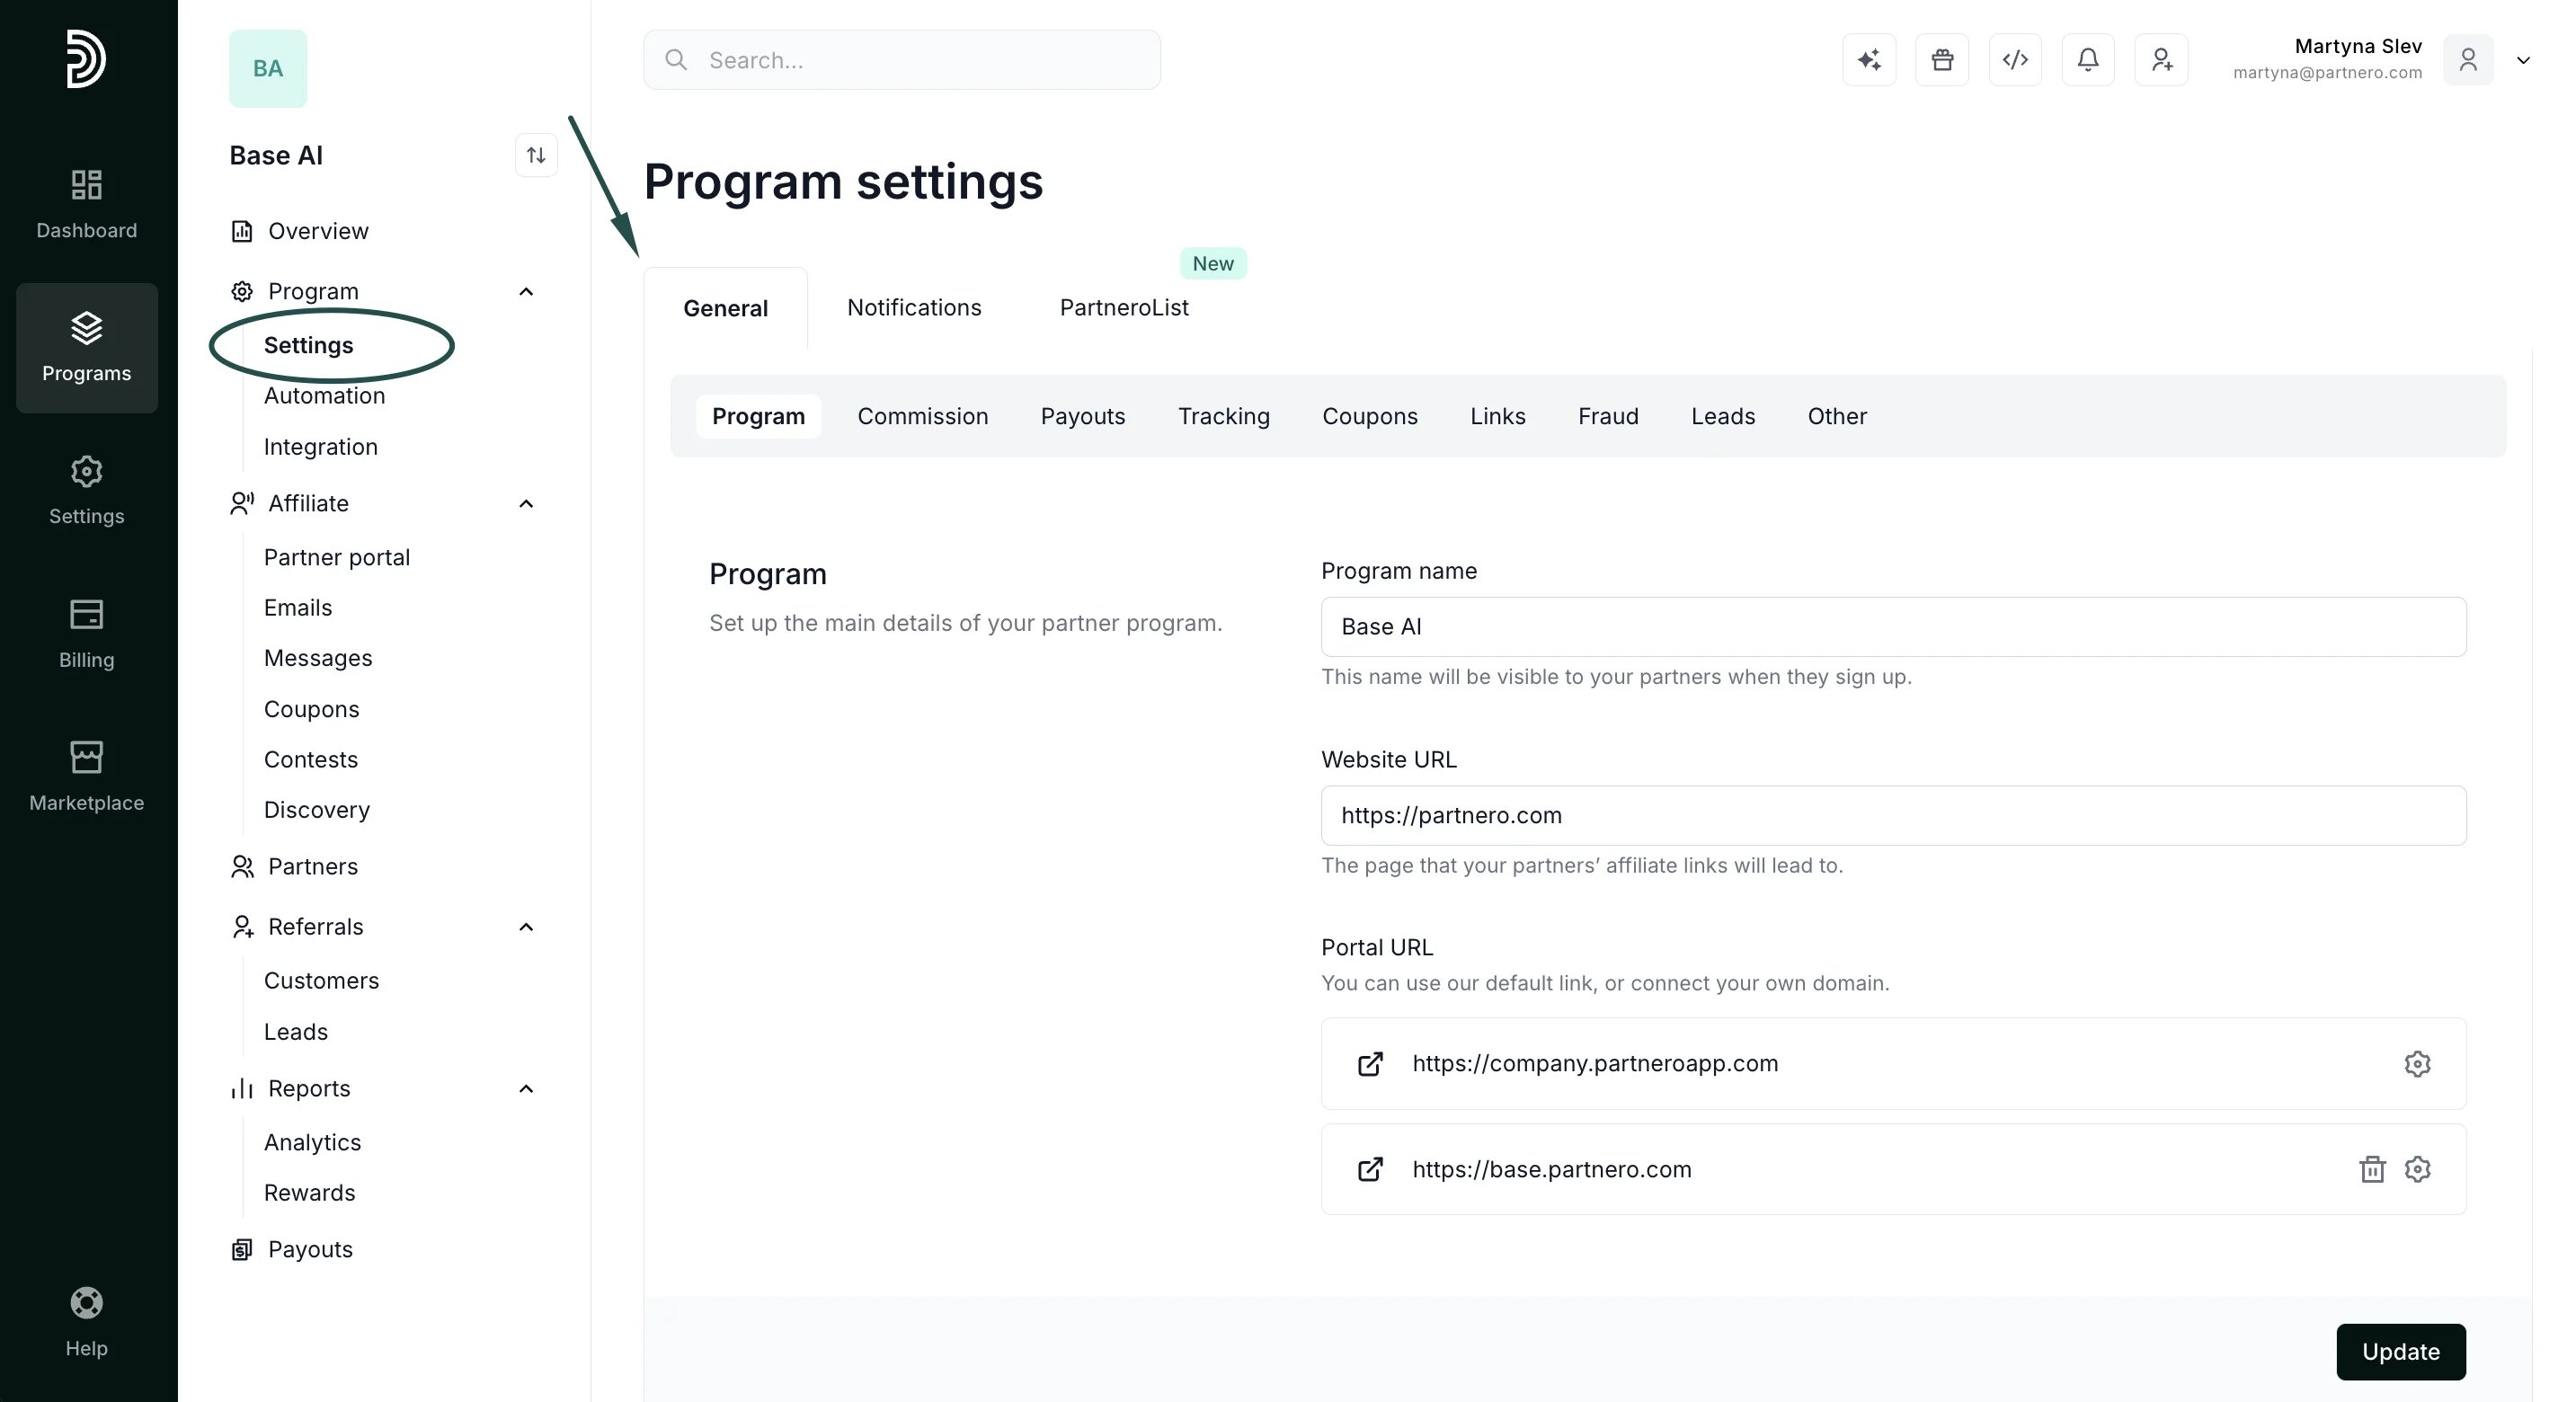
- Program name - this name will be visible to your partners when they sign up and is used in program emails.
- Website URL - the default page that your partners’ affiliate links will lead to.
- Partner portal URL - the partner portal login page. You can use our default link or connect your own domain.
- Connect a custom partner portal URL
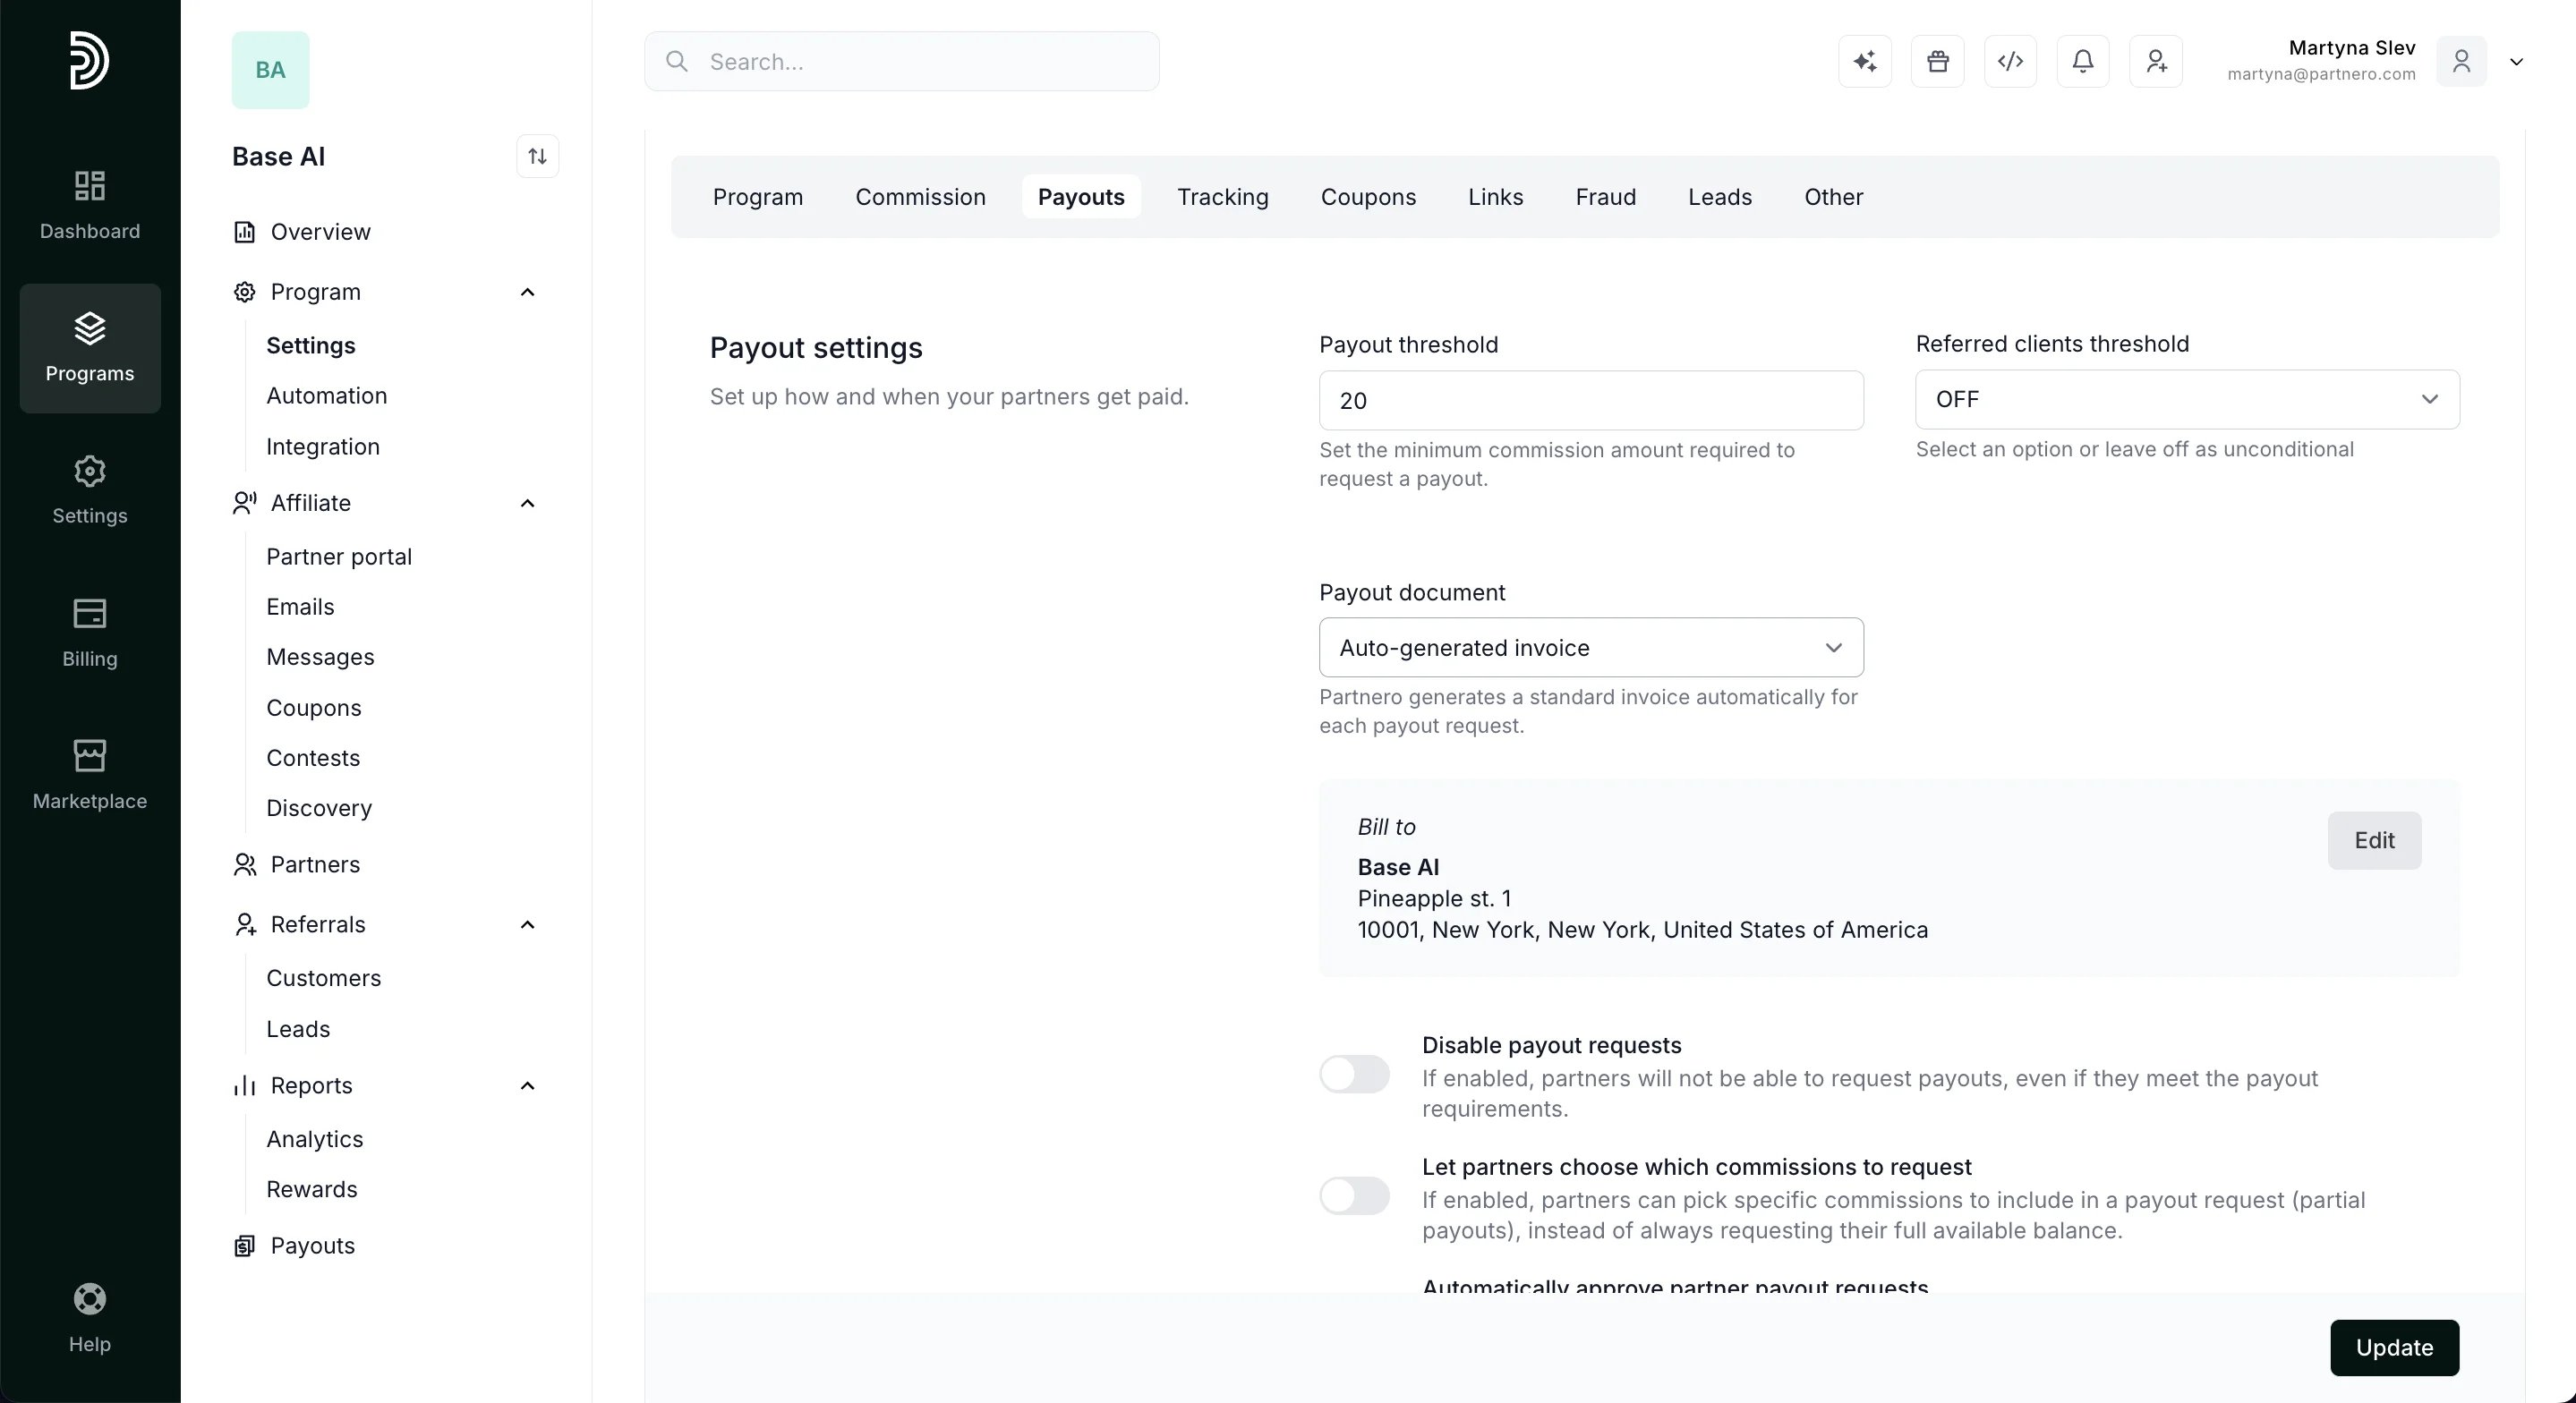
- Customize your commission structure
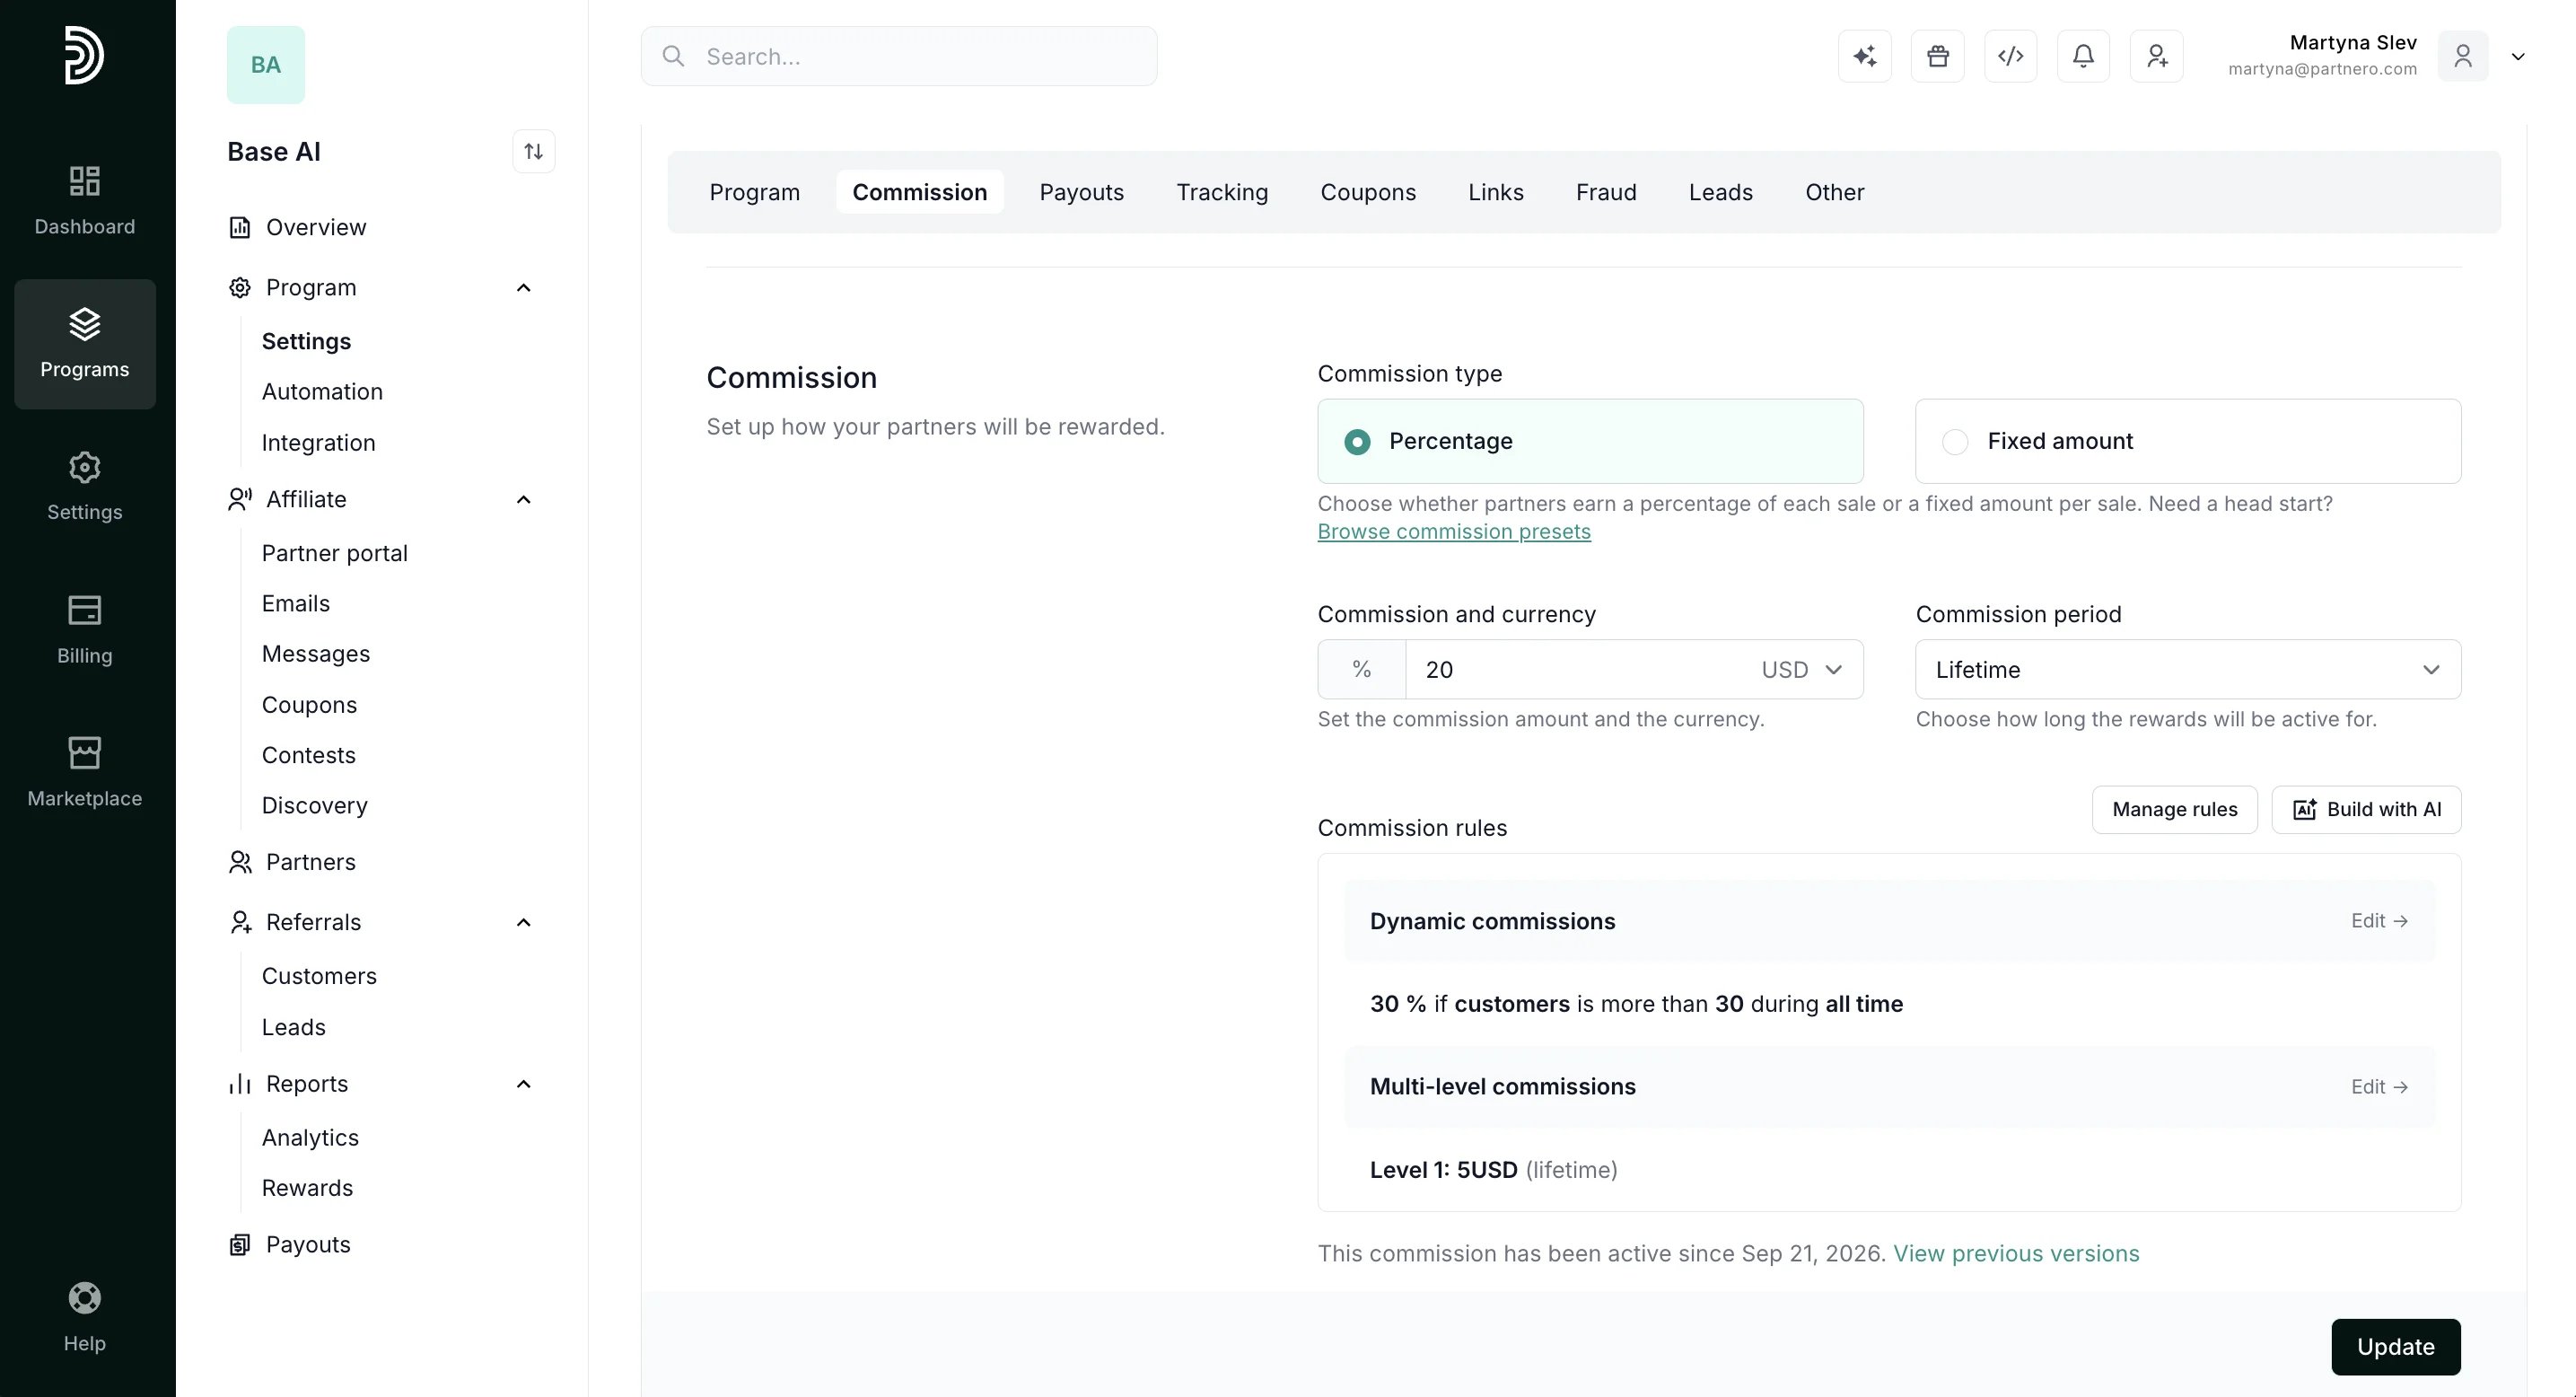
- Customize payout settings and options
- Configure tracking links and attribution
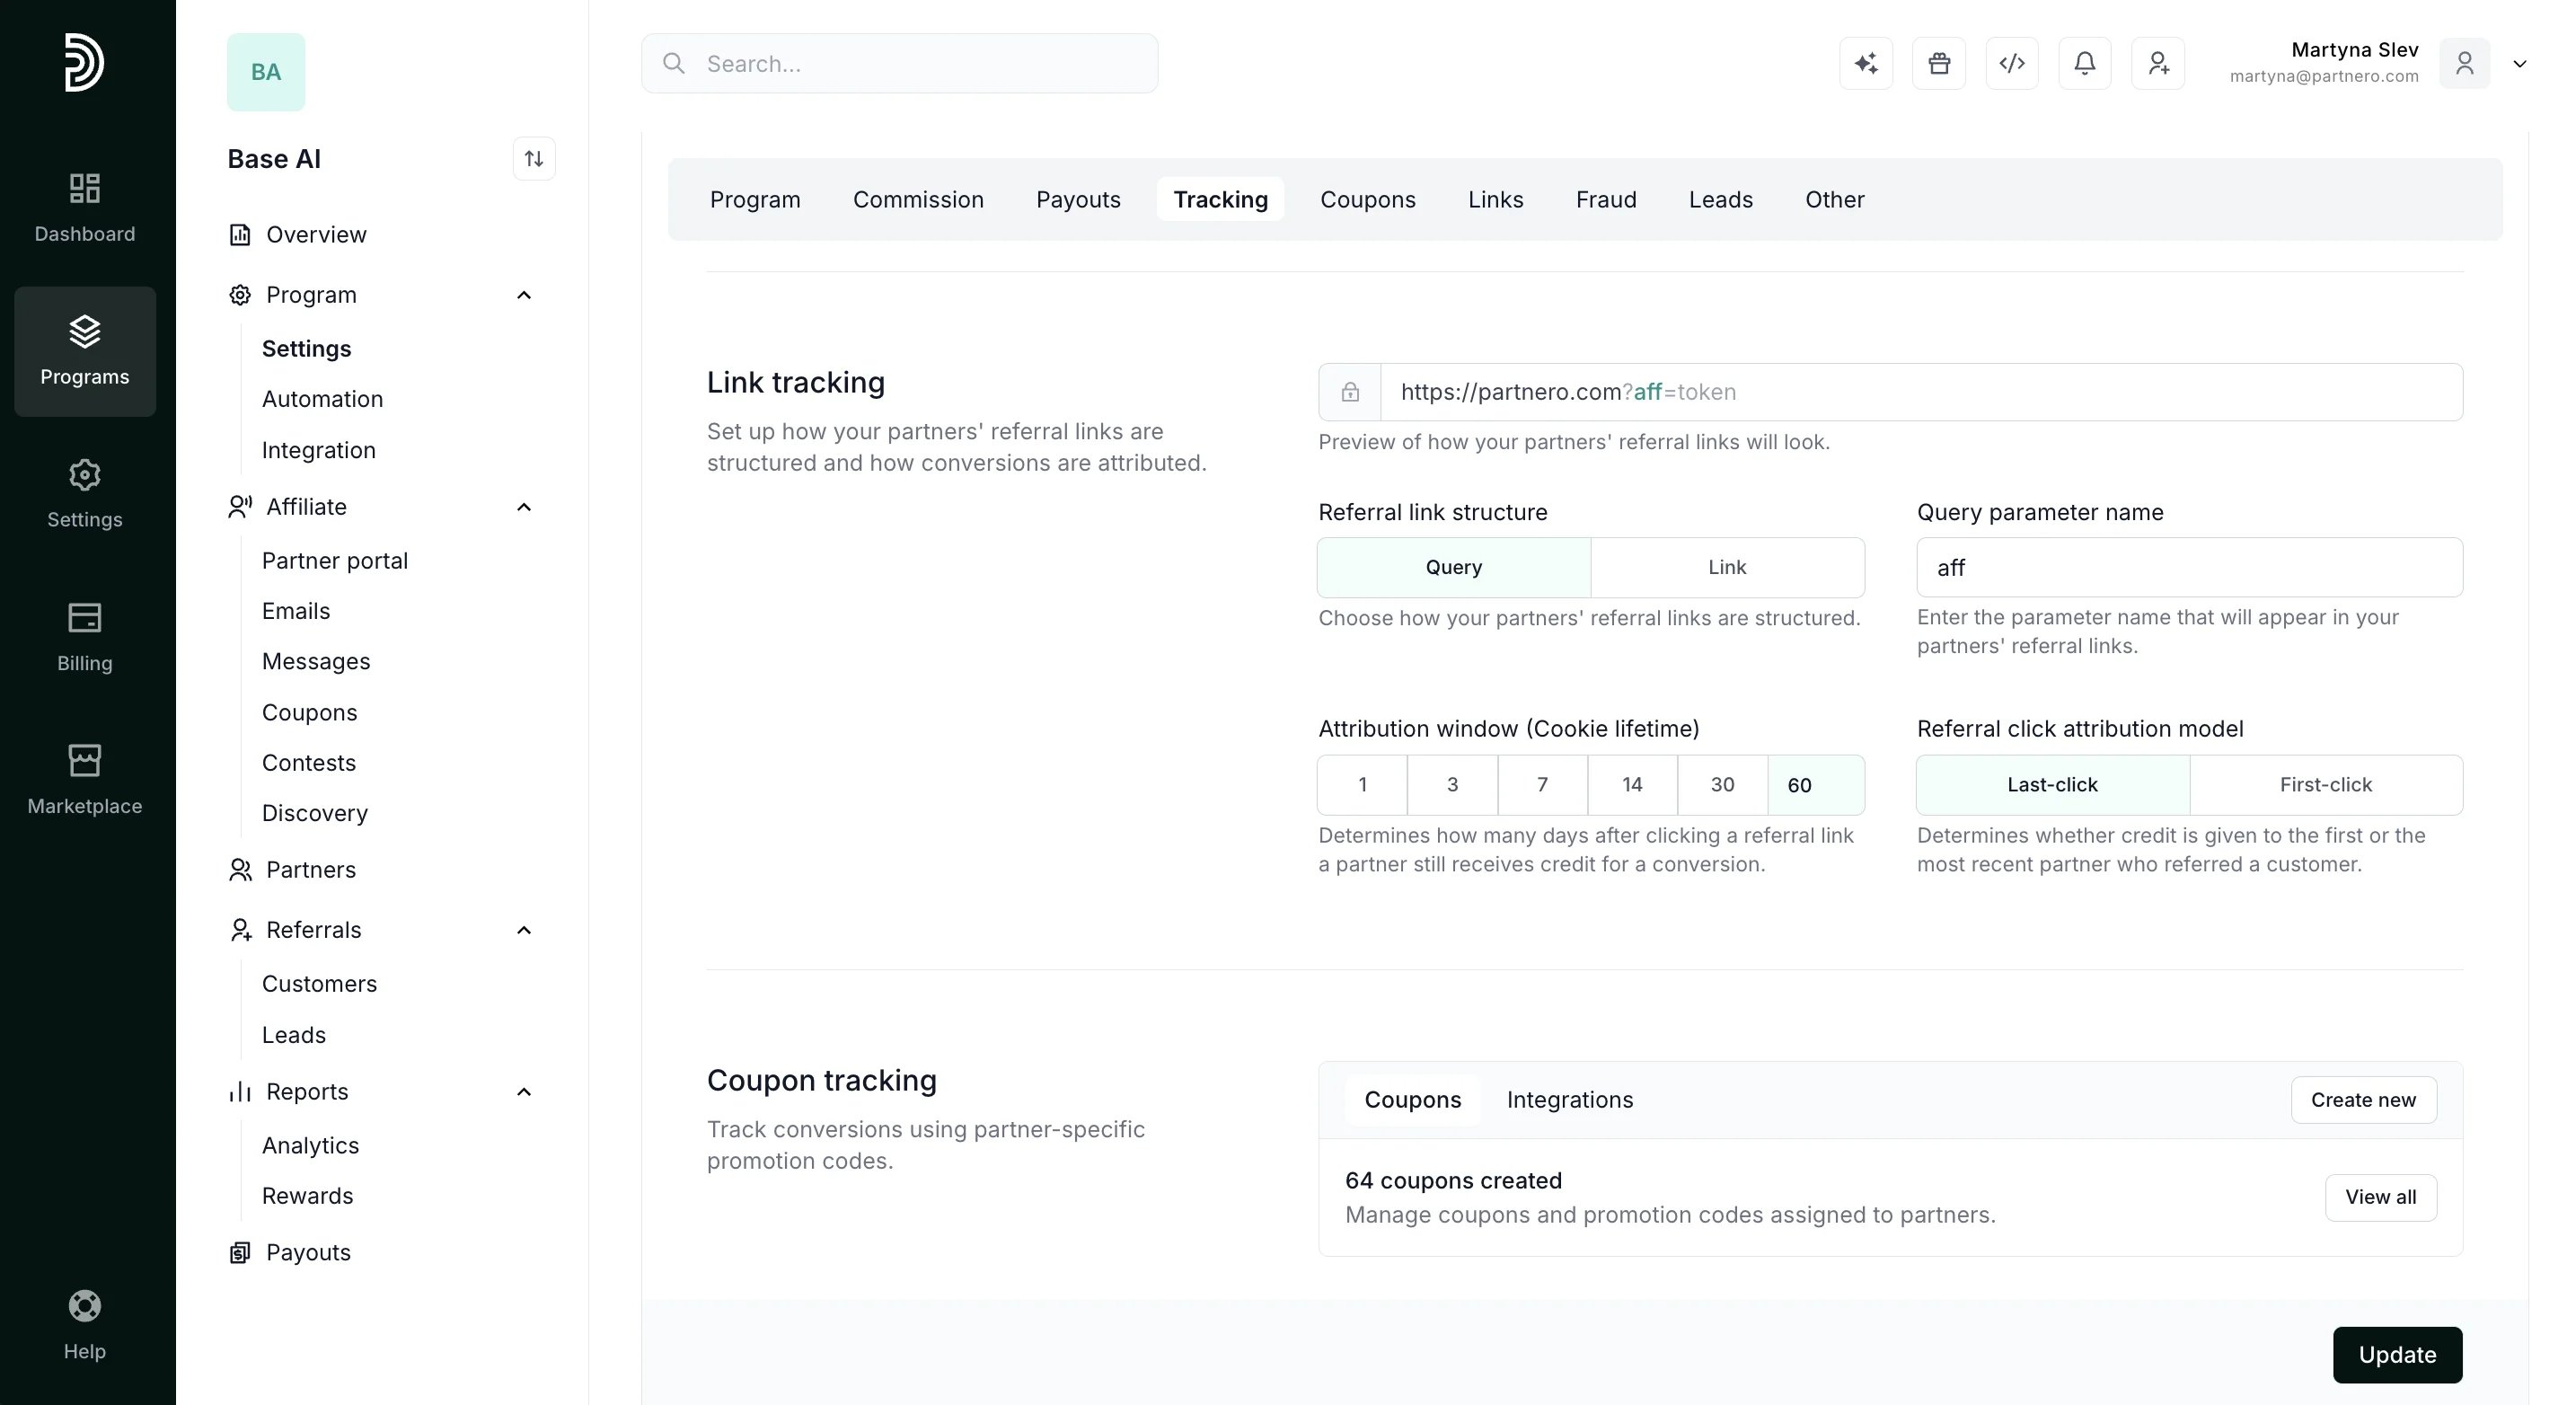
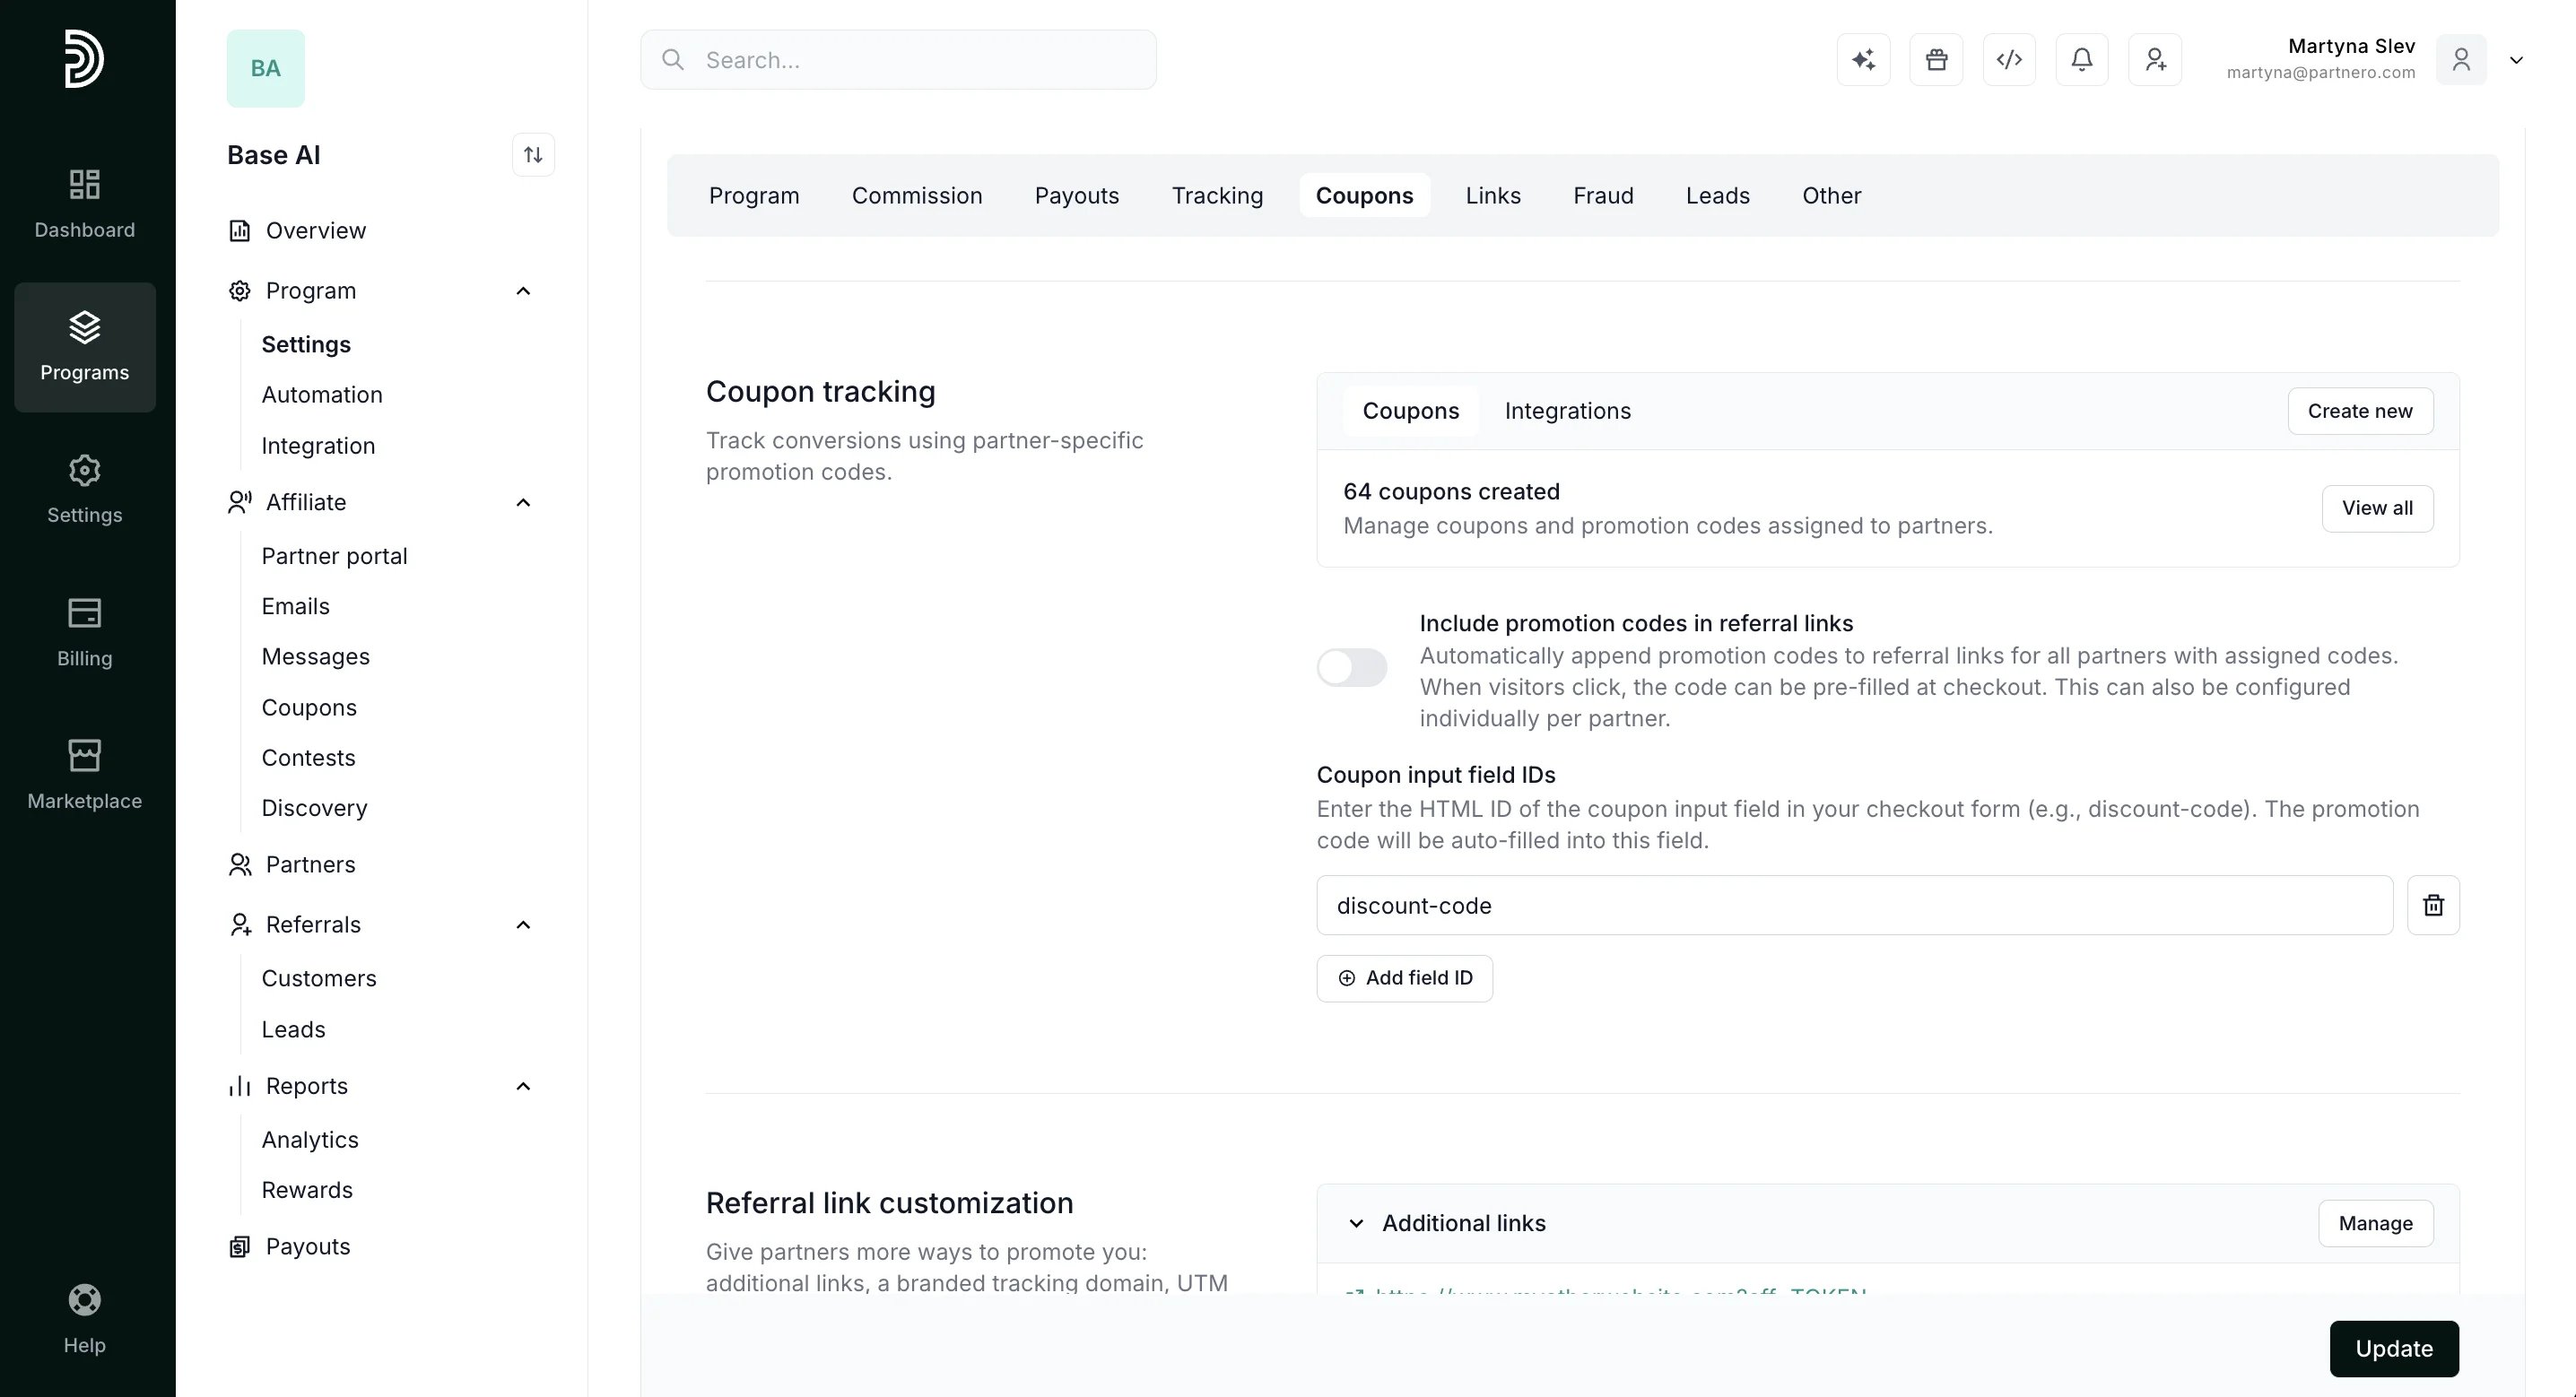
- Manage coupon tracking
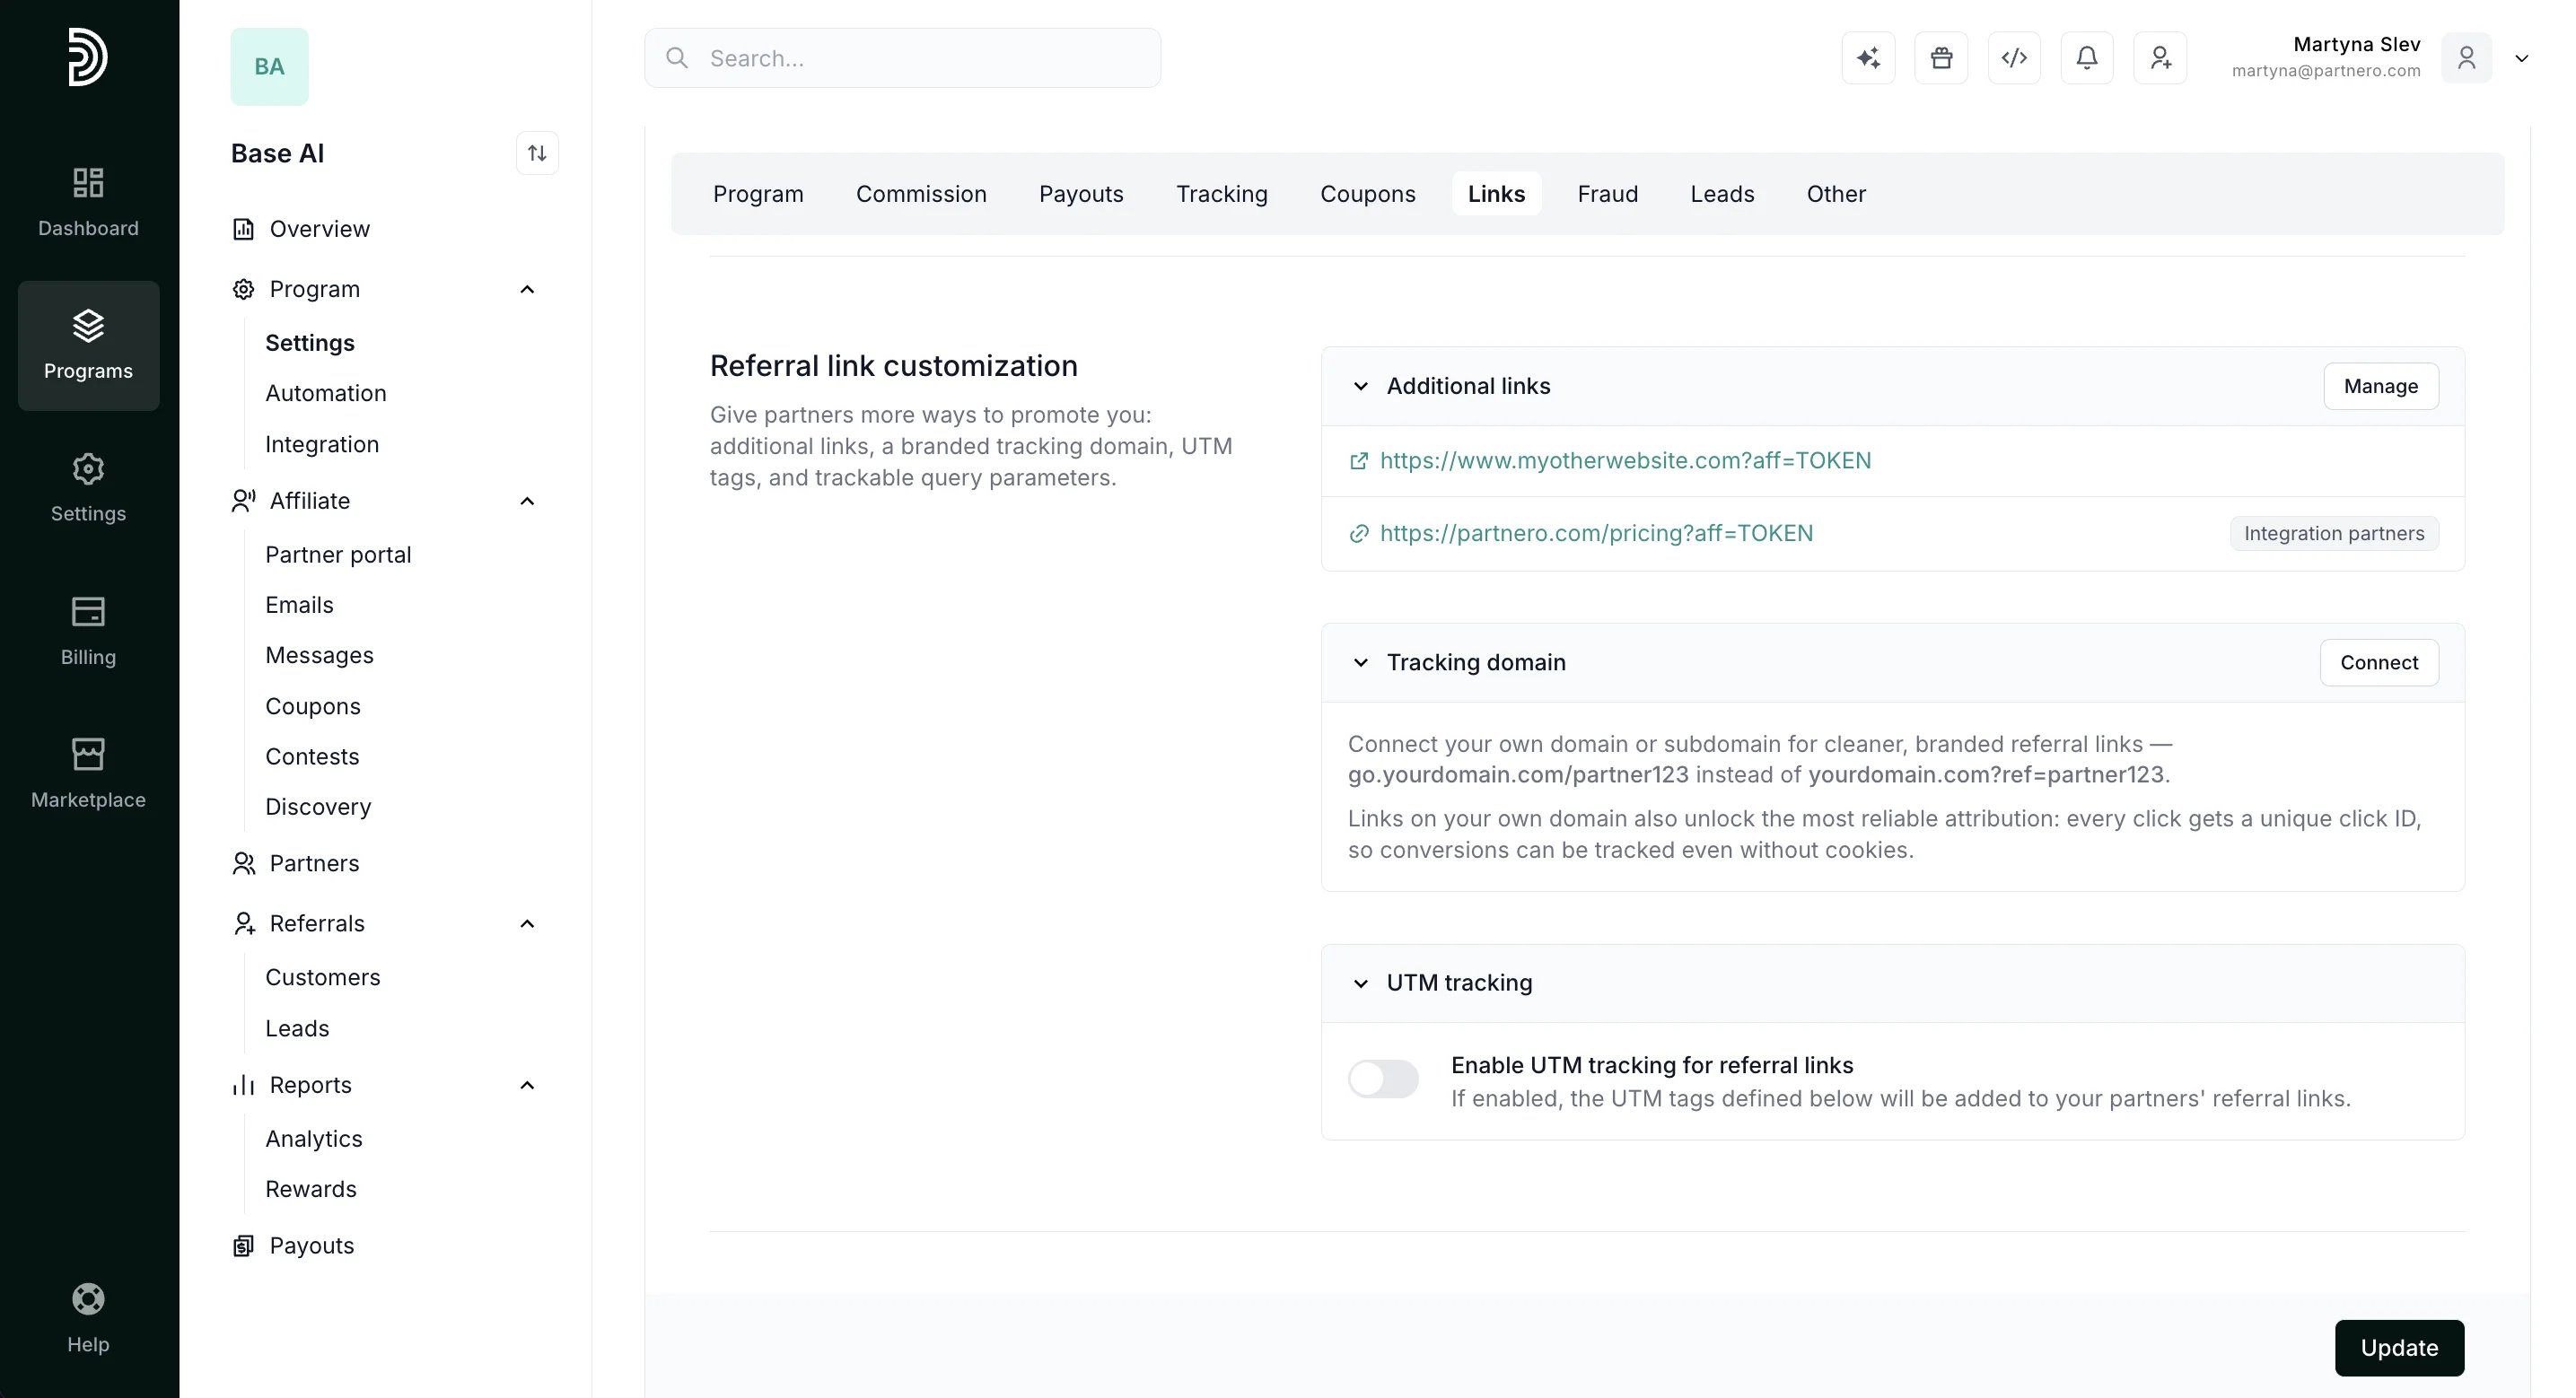
- Connect additional tracking links through Advanced links
- Connect a custom domain for your tracking links
- Update Transaction & Protection settings
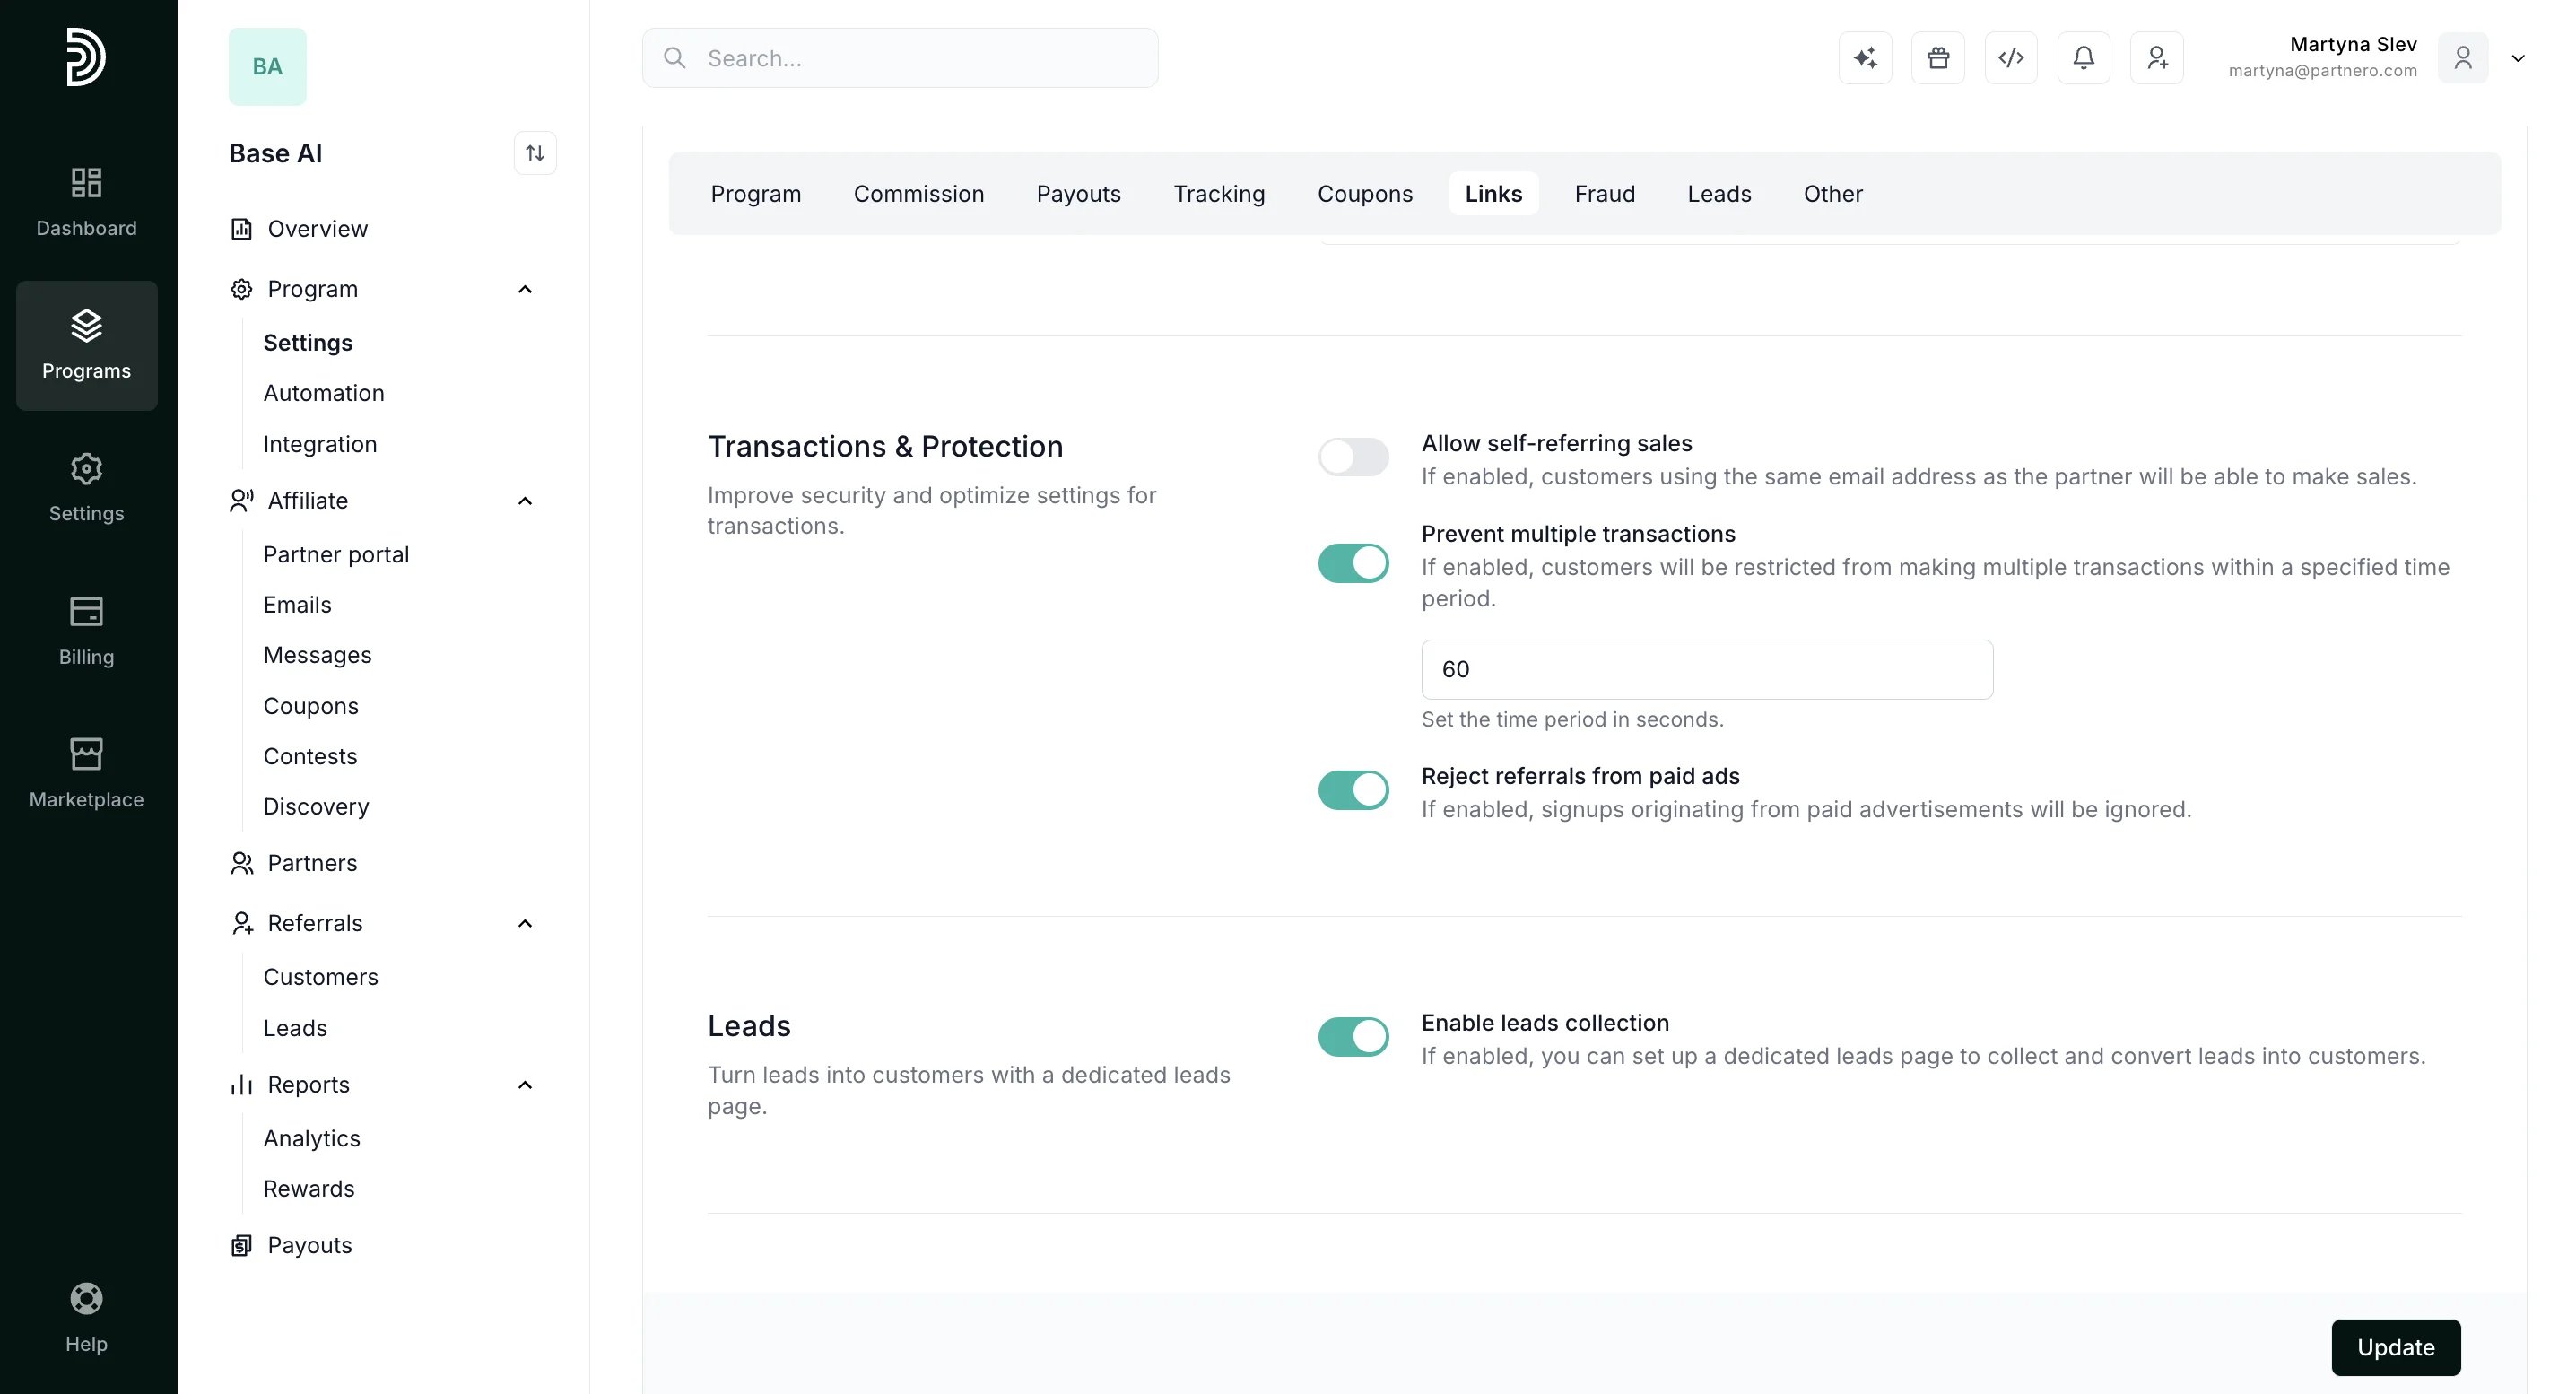
- Enable leads collection
- Enable approval form for new partners - if enabled, new partners will have to fill out a form and get approved before accessing your program. Read more about approvals here.
- Enable approval form for partner customers - if enabled, customers created by partners will have to be approved.
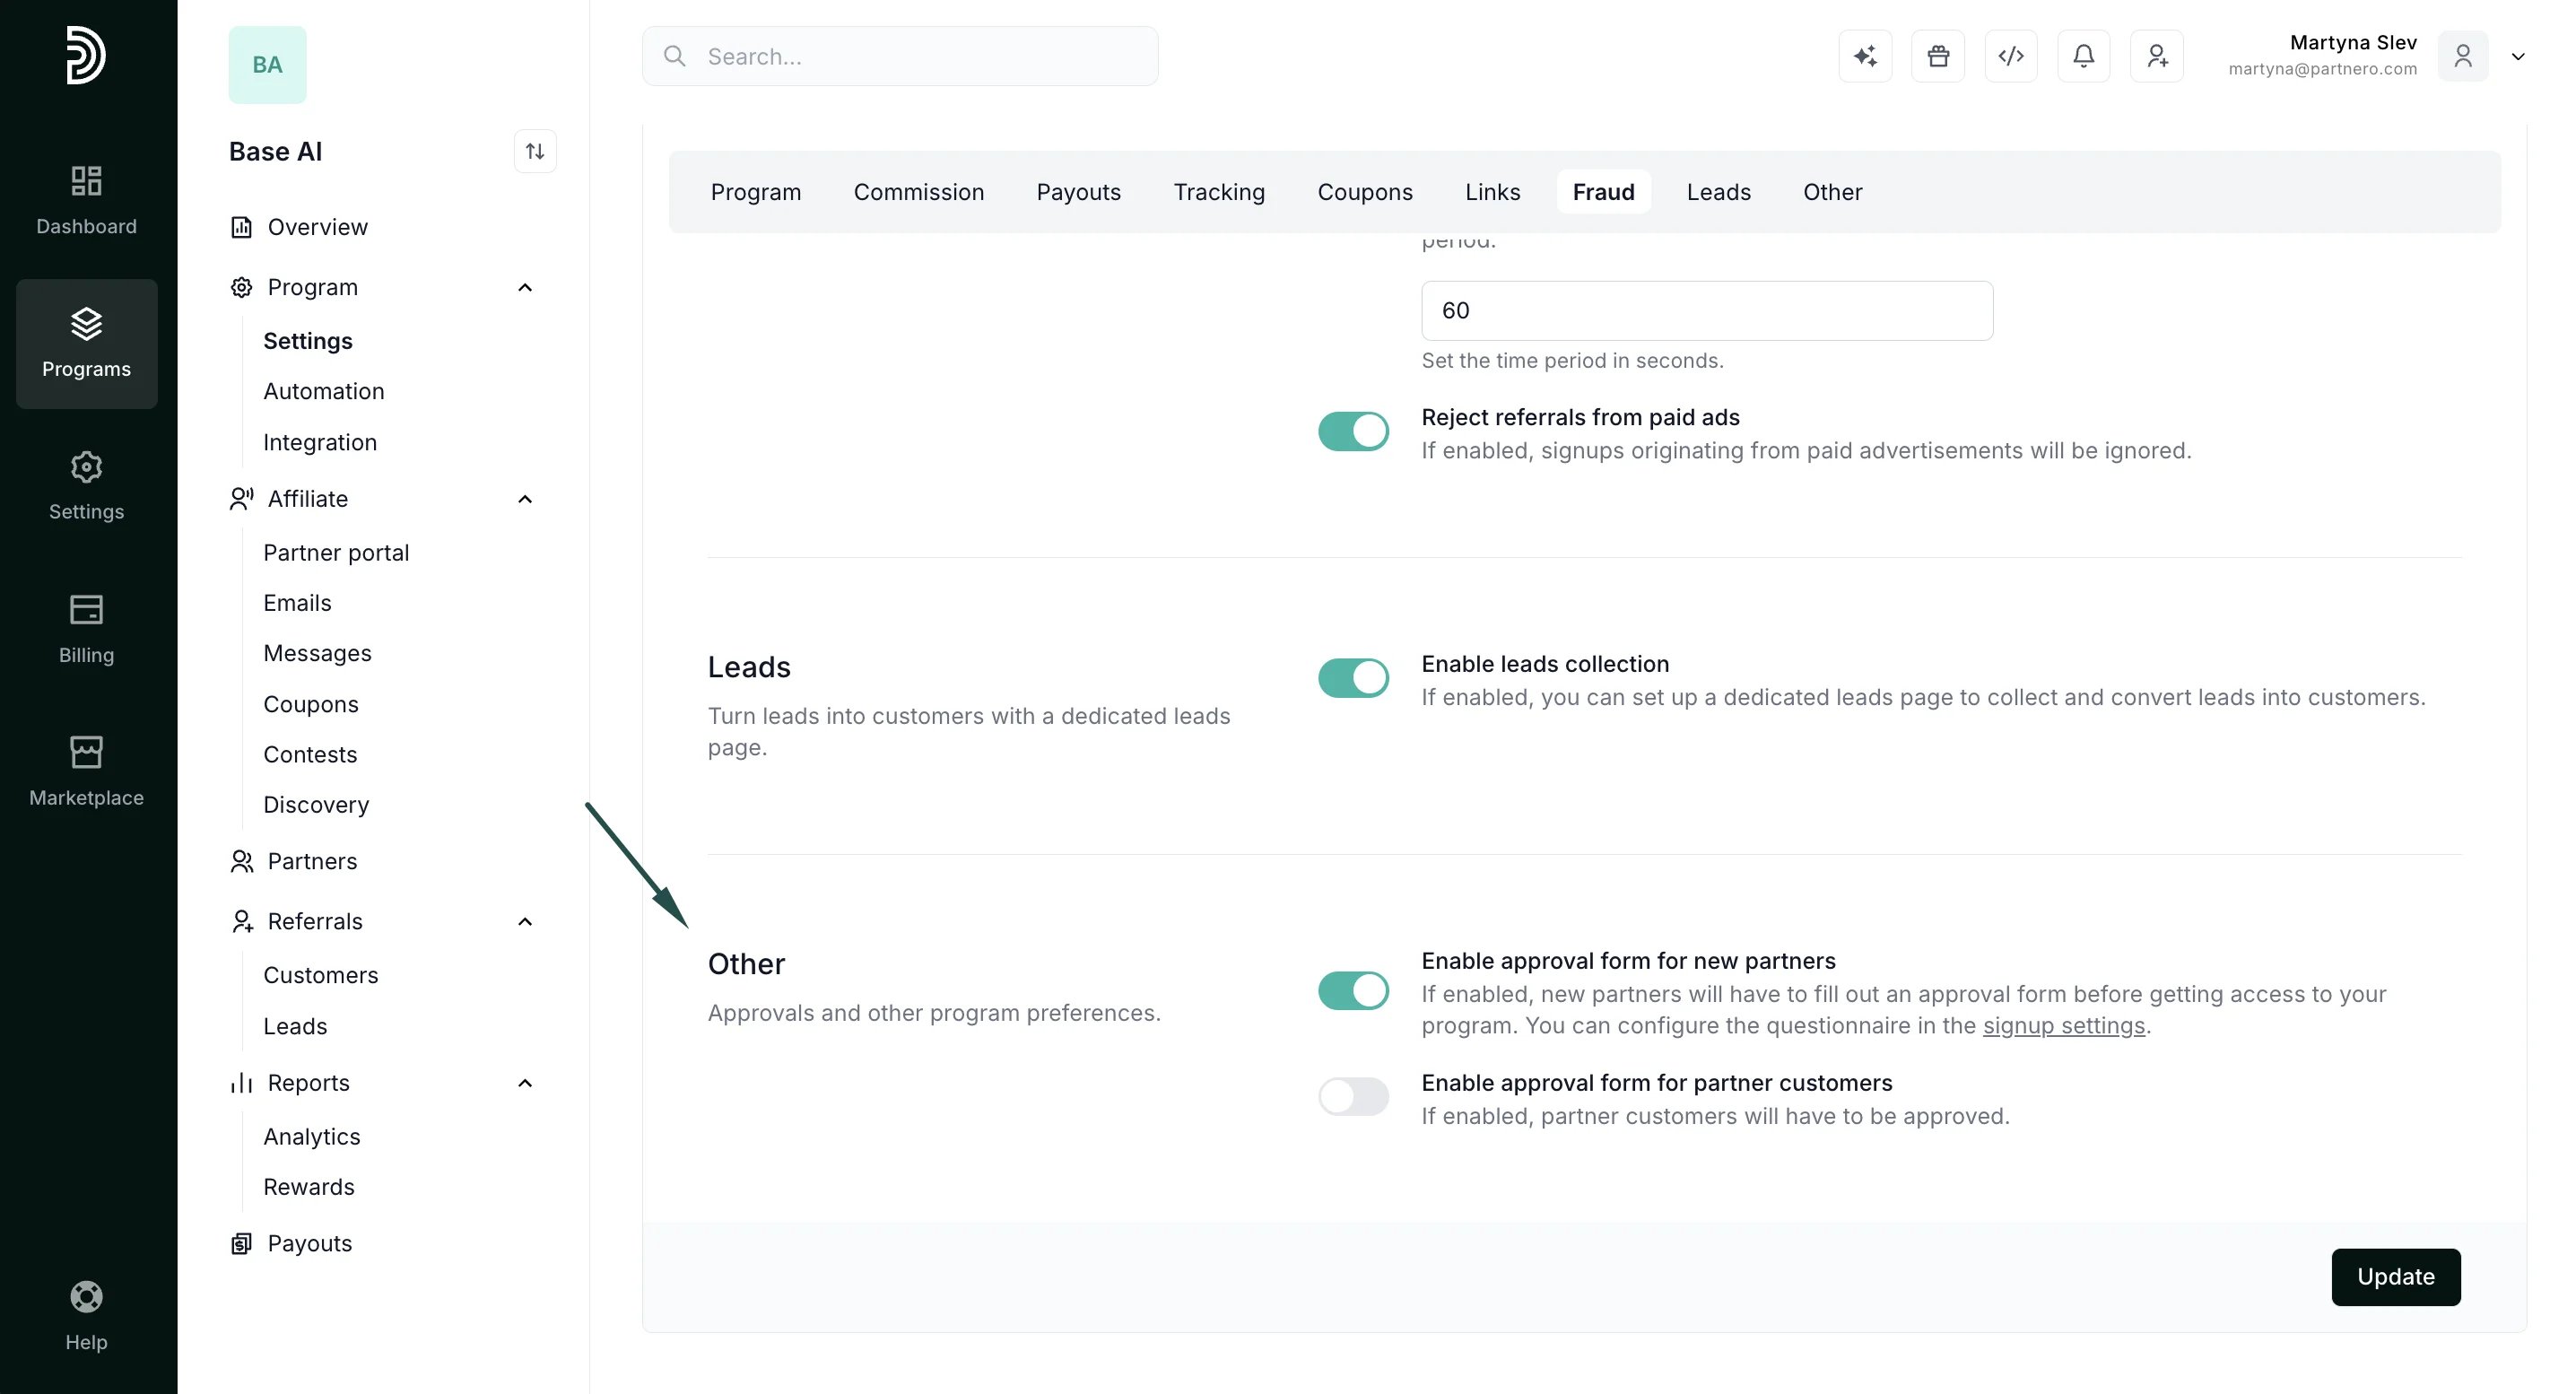
Make sure to click Update after you make any changesThe last section on the General tab is to:
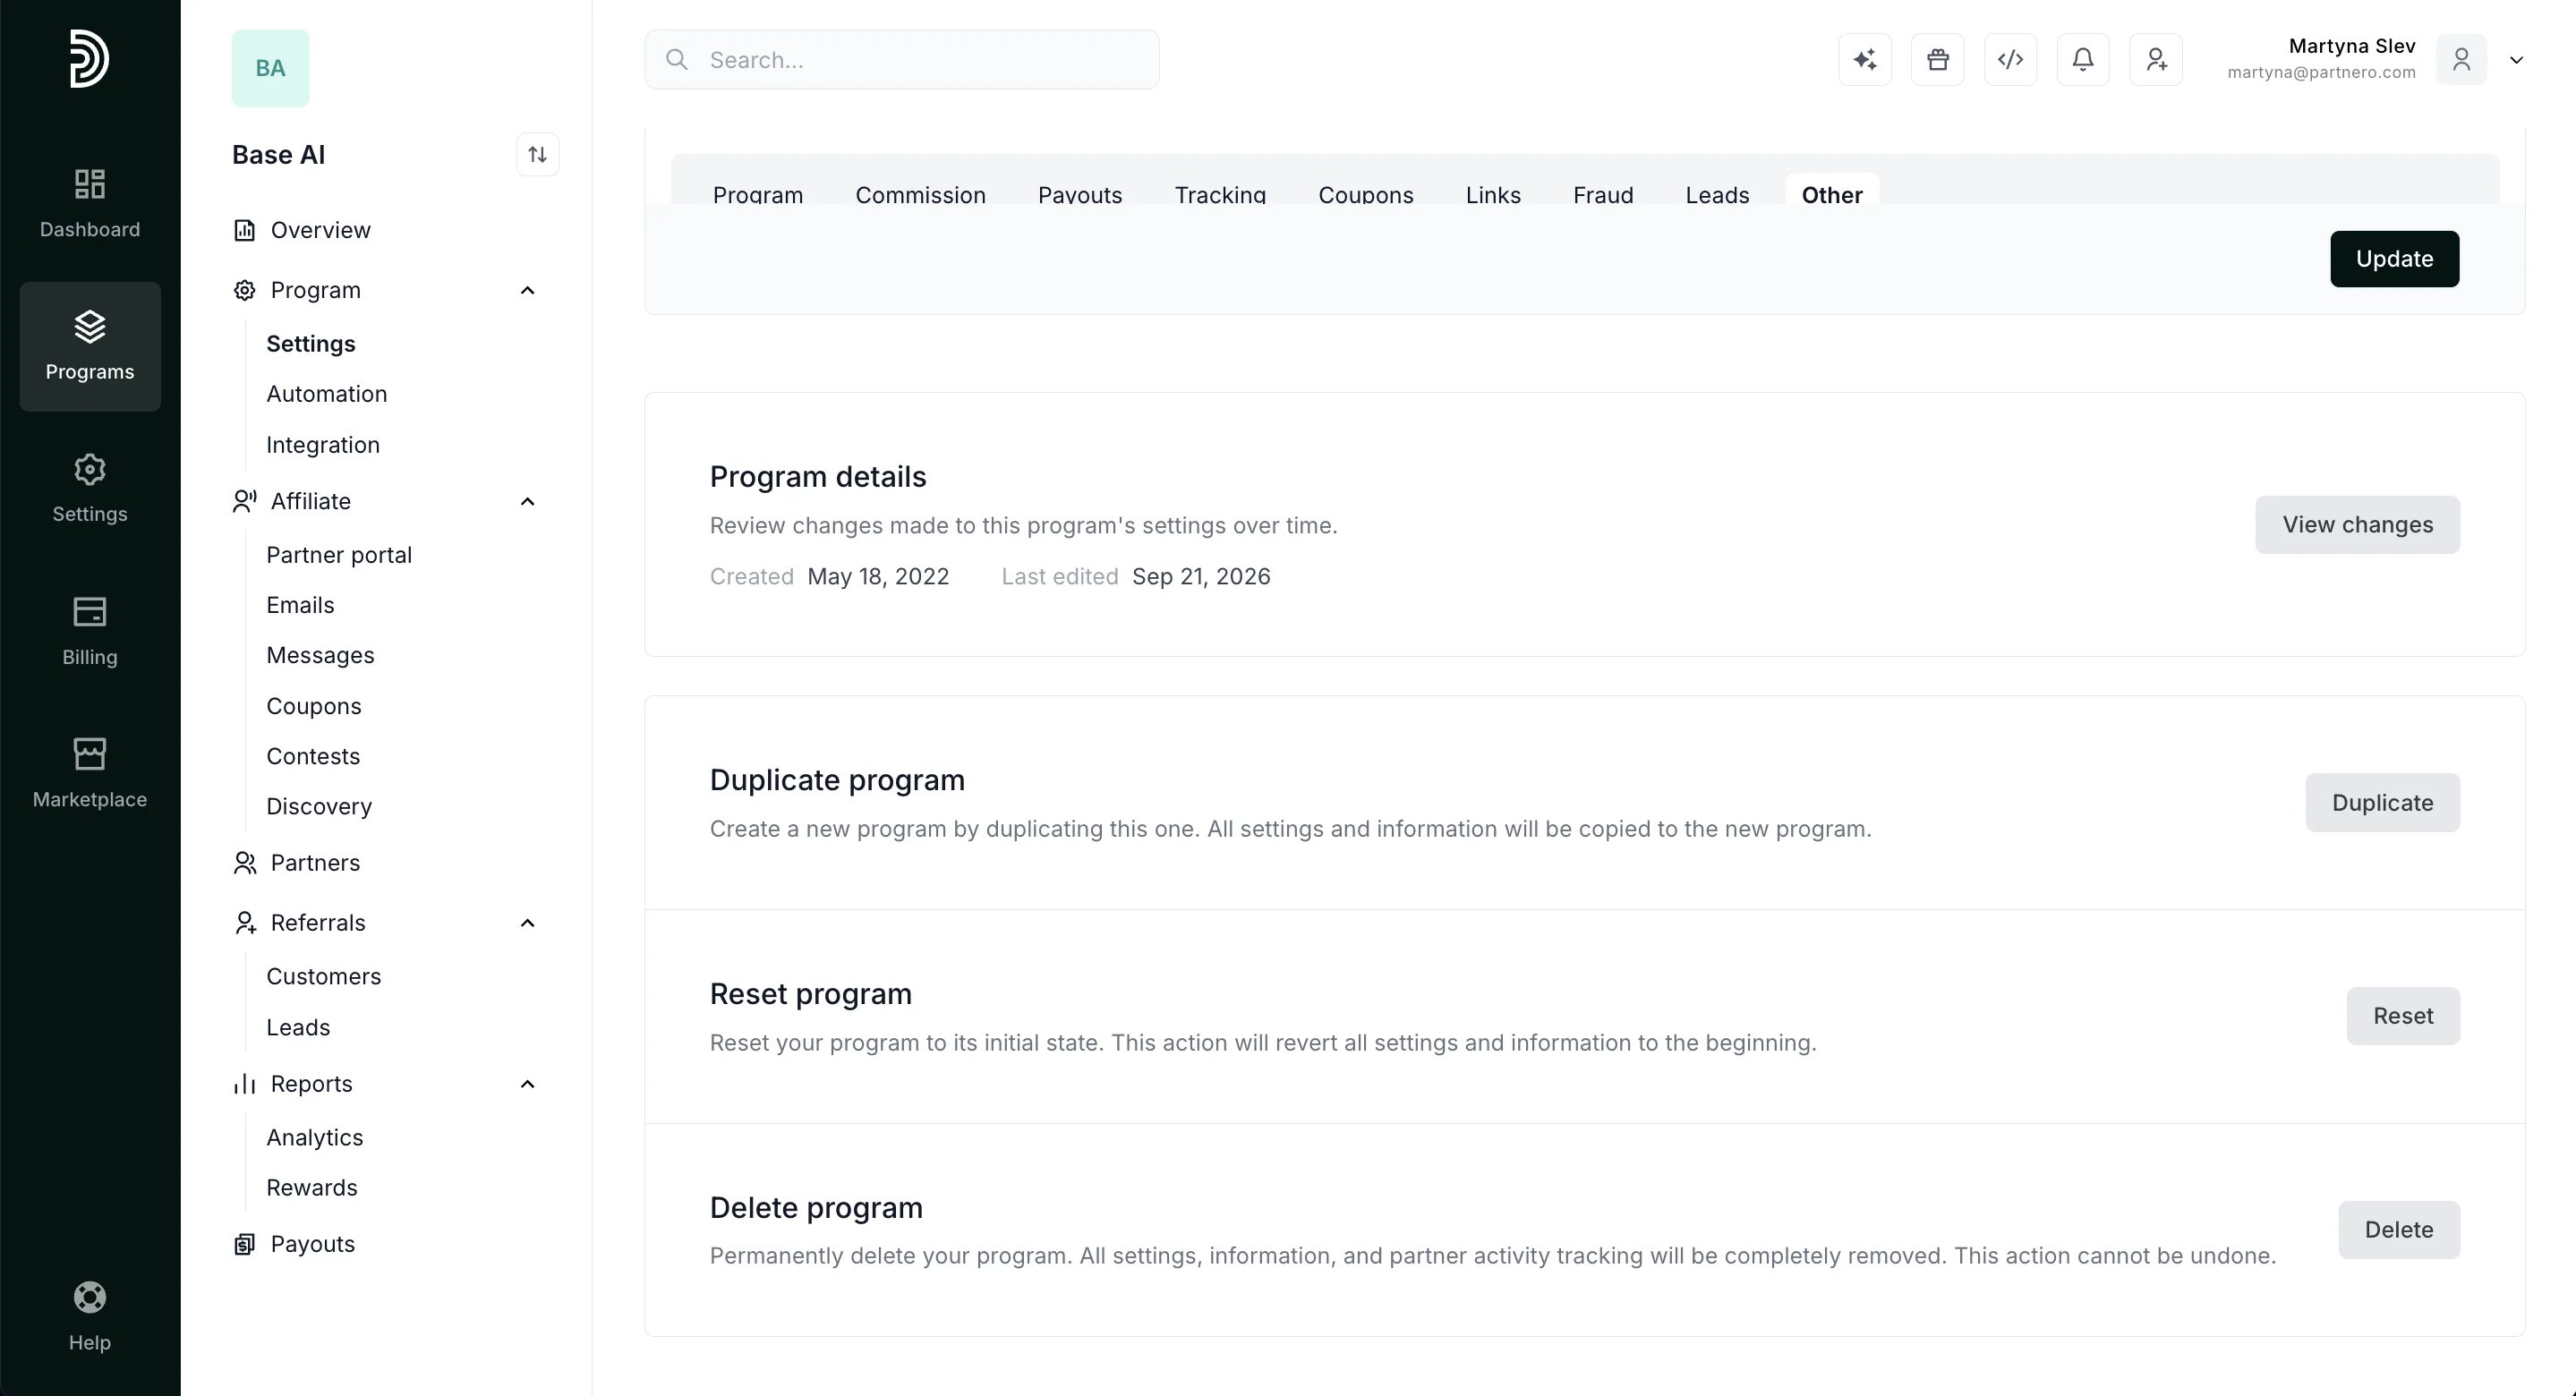
Settings: Notifications
The second tab in the program Settings section is Notifications: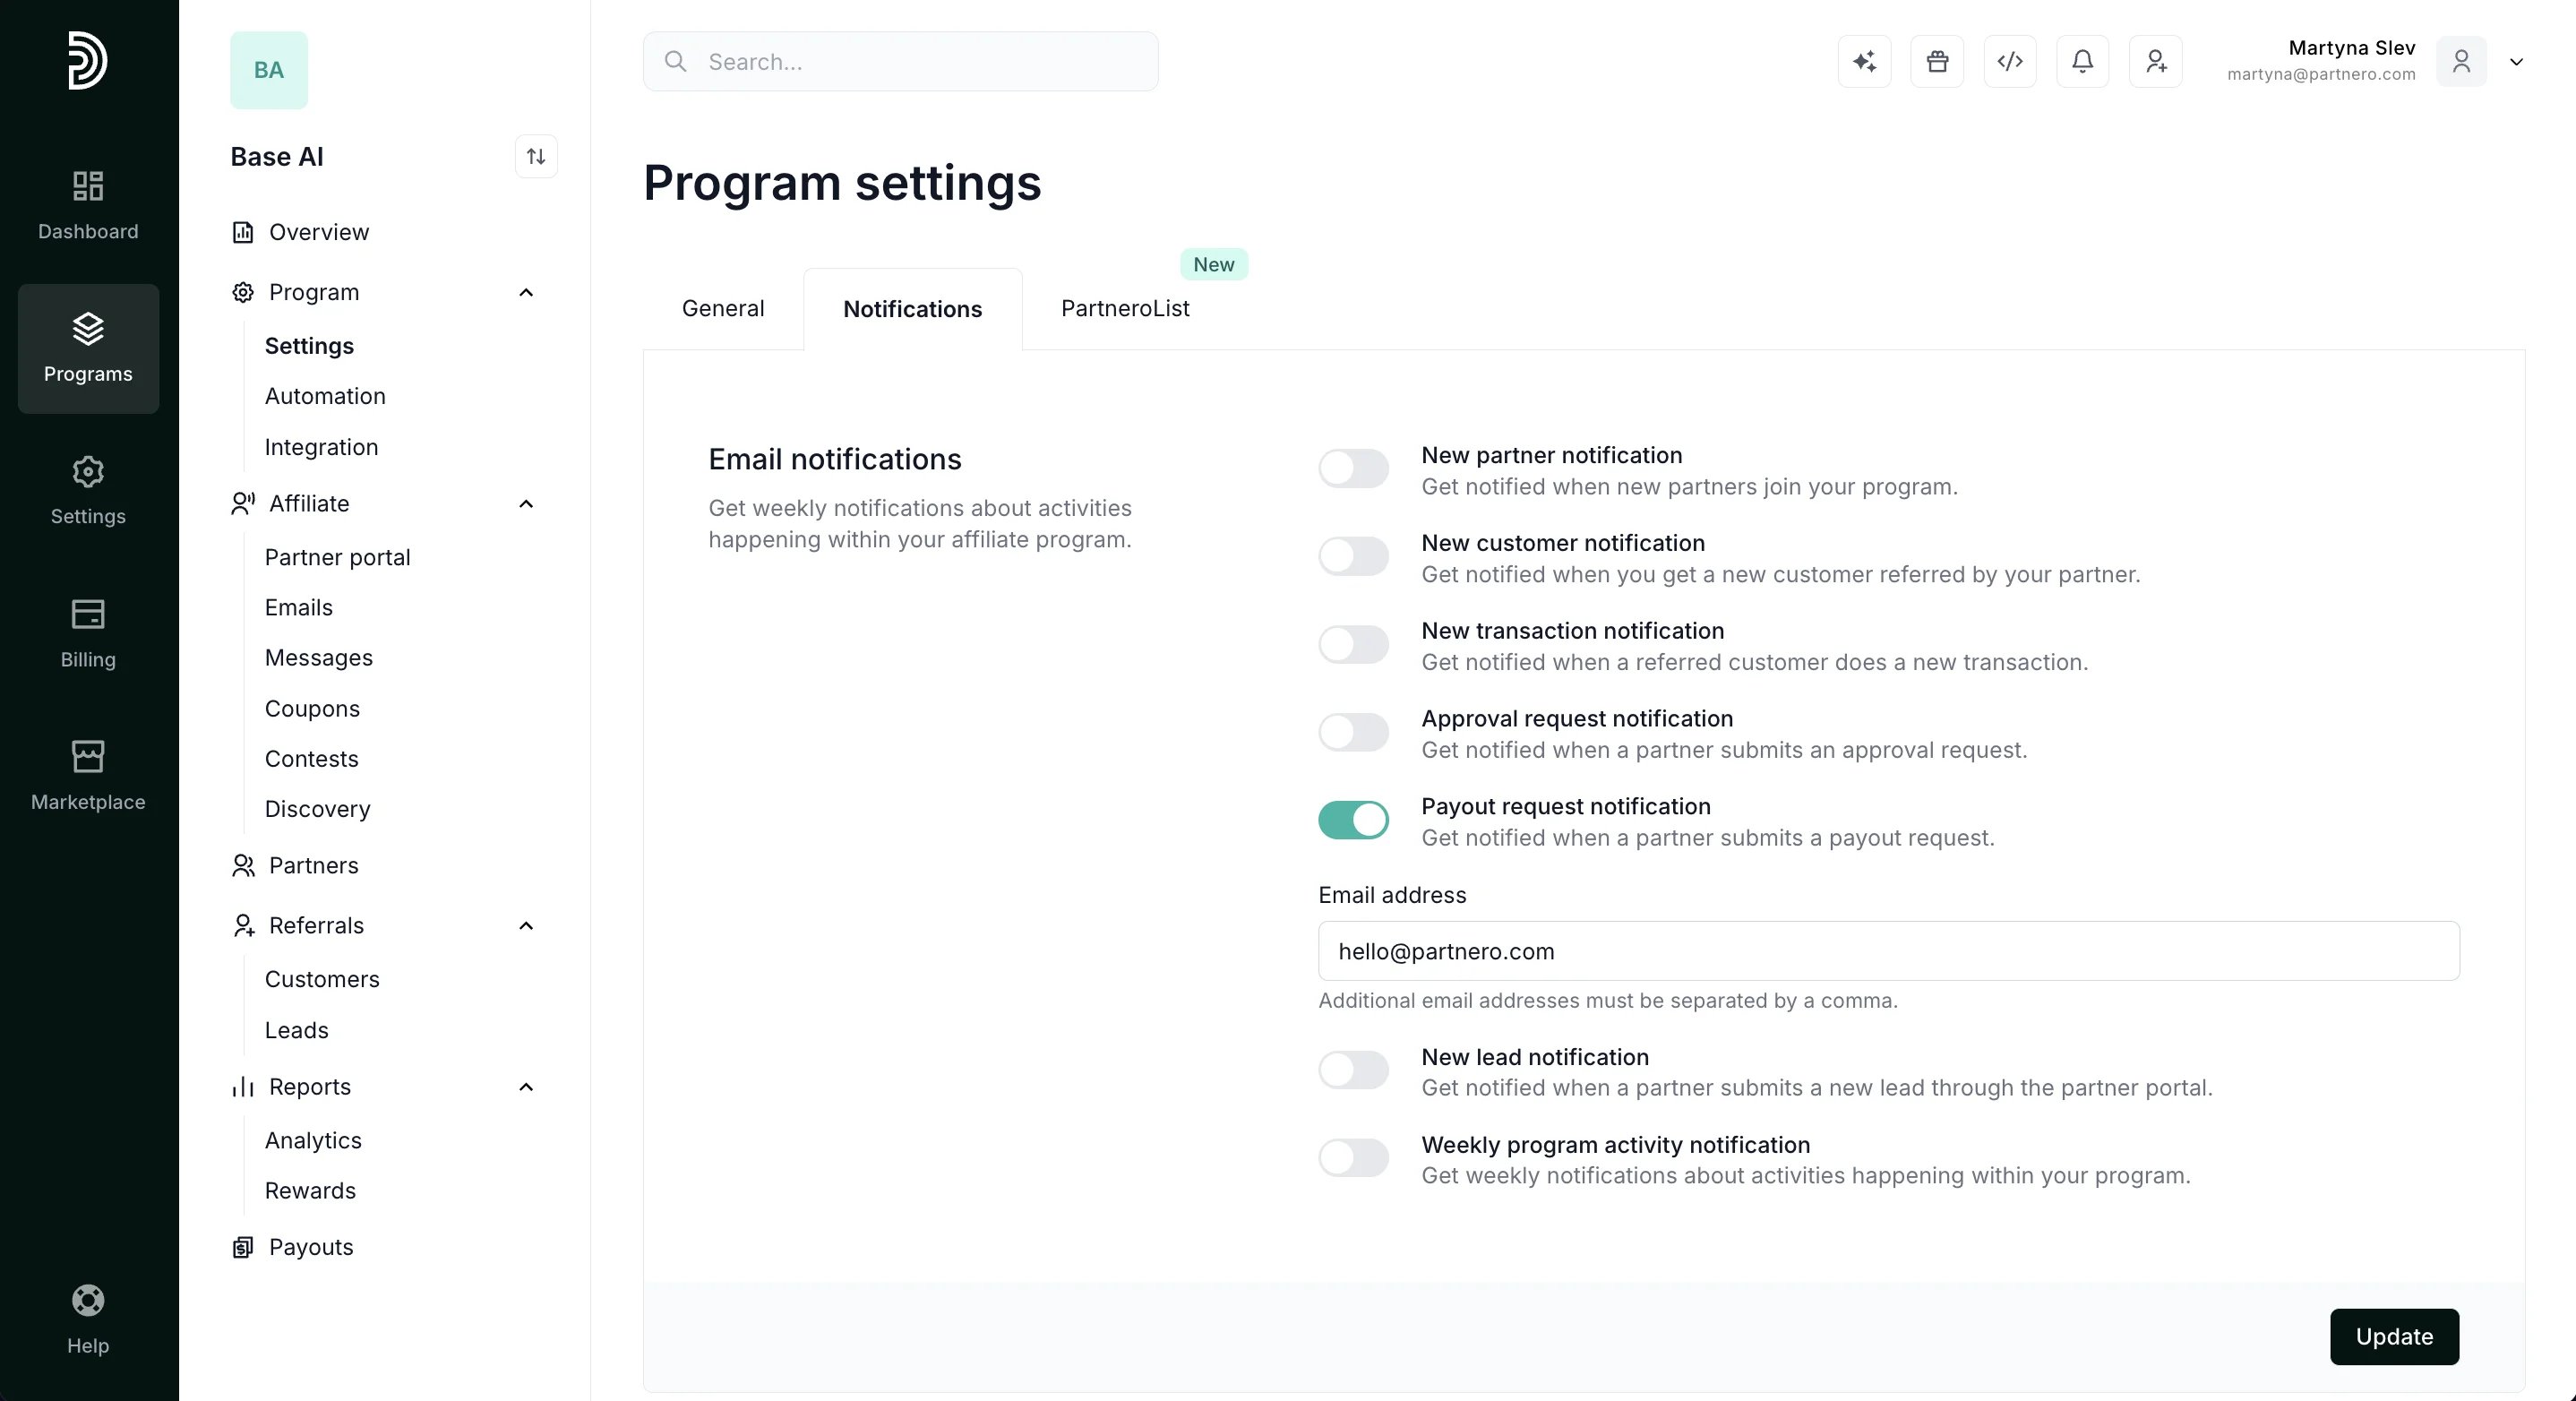
Settings: PartneroList
Lastly, you can submit your program to PartneroList: